A tired El Camino interior will show its age faster than the paint or chrome. Cracked dash pads, split seat covers, sagging headliners, missing knobs, and brittle weatherstripping can make even a solid driver feel unfinished. If you’re figuring out how to restore El Camino interior parts the right way, the best results come from treating it as a system, not a pile of cosmetic fixes.
That matters because the interior is where you see, touch, and hear your restoration every time you drive. A fresh bench seat means less if the door seals whistle, the window cranks feel loose, or the instrument lights only work when they want to. On 1964-72 El Camino models, factory-correct fitment and model-year details make a real difference, especially if you want the truck to feel authentic instead of merely cleaned up.
Start with a full interior inspection
Before ordering anything, inspect the cabin from the floor up. Pull the floor mats or old carpet and look for hidden rust, soft spots, water staining, and previous patchwork. Check the lower door panels, under-seat areas, kick panels, and package areas for signs of moisture intrusion. If the weatherstripping has hardened or the windshield and rear glass seals are leaking, new upholstery alone will not stay nice for long.
This is also the time to identify what should be restored, what should be replaced, and what can be reused. Some owners want a factory-stock interior with the correct grain, stitching pattern, and trim level details. Others are building a clean driver and care more about durability than exact originality. Neither approach is wrong, but it changes the parts list.
Take photos before disassembly. On an El Camino, small hardware, trim clips, seat tracks, sill plates, dash fasteners, and wiring routes can get mixed up quickly. Good reference photos save time and help you avoid installing parts in the wrong sequence.
How to restore El Camino interior in the right order
Interior restoration usually goes smoother when you work from structure to finish. Handle leaks, rust, and wiring first. Then move to insulation, carpet, headliner, seating surfaces, door panels, and final trim. If you reverse that order, you risk damaging new parts while fixing old problems underneath.
Fix water leaks before cosmetic work
A surprising number of interior problems start outside the cabin. Worn roof rail seals, door weatherstripping, window felts, cowl leaks, and glass channel seals can let in enough water to ruin carpet backing and create floor pan corrosion. If the old interior smells musty or the jute padding is damp, assume water has been getting in for a while.
Replacing seals and weatherstripping early protects everything that follows. It also improves door closure, reduces wind noise, and gives the vehicle a tighter, more finished feel. On a classic GM A-body, that difference is noticeable right away.
Repair floors, braces, and mounting points
If you find rust in the floor pans, seat mounting locations, or inner rocker areas, fix that before any soft trim goes back in. Interior restoration is not just about appearance. Seat stability, seat belt mounting strength, and pedal area integrity all matter for safety and drivability.
This is one area where shortcuts tend to show up later. Thin patch panels and poor weld work can leave seats misaligned or carpet fitting poorly around contours. A clean, solid floor gives you the foundation needed for factory-style fit.
Inspect wiring and dash components
A restored interior should work as well as it looks. Check dash harnesses for brittle insulation, non-factory splices, melted connectors, and weak grounds. Test courtesy lights, dash lights, wipers, heater controls, cigarette lighter, radio, and gauge functions before reinstalling panels.
If your dash pad is cracked or the bezel is faded, this is the best time to address it. Replace burned-out bulbs, clean contact points, and inspect switches while access is easy. On many El Caminos, electrical gremlins are less about major failures and more about aging terminals and bad grounds.
Seats, panels, and soft trim
Once the structure and electrical basics are handled, the cabin starts looking like a vehicle again. This is where material quality and fitment make or break the job.
Restore the seat correctly
Bench seats and bucket seats both need more than new covers if they have been neglected for decades. Inspect the seat foam, burlap, listing wires, springs, tracks, and release mechanisms. Installing fresh upholstery over collapsed foam can leave the seat looking wrinkled and sitting unevenly.
If originality matters, match the correct year, trim level, and pattern. Grain texture, pleat count, emblem placement, and color can vary. Drivers may accept slight deviations, but collectors usually will not. Good upholstery work should look tailored to the frame, not stretched to fit.
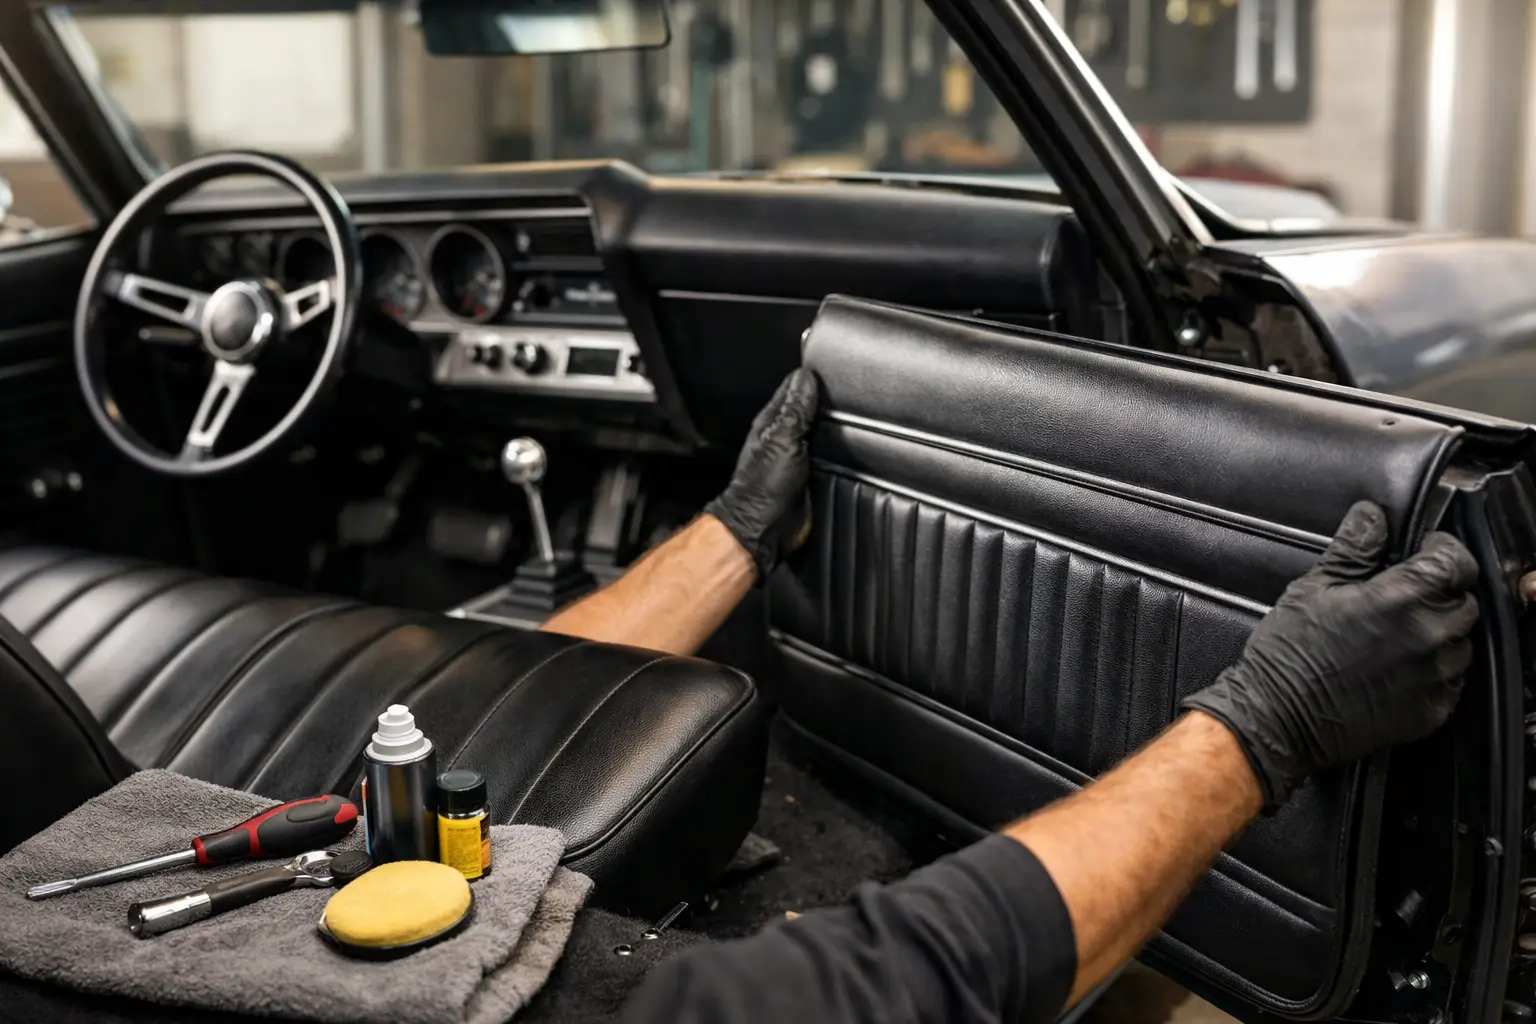
Replace door panels and interior trim with care
Door panels are a major visual focal point, but they also need the supporting hardware behind them. Broken panel clips, damaged moisture barriers, worn window felts, and loose armrest bases can make a new panel feel cheap in a hurry. Replace the backing components at the same time if needed.
The same goes for handles, cranks, escutcheons, knobs, and trim pieces. Small worn parts can pull down the whole interior. A clean set of panels next to pitted handles and loose hardware never looks fully restored.
Carpet, insulation, and sound control
New carpet is one of the most dramatic upgrades in an El Camino interior, but it pays to prepare the floor first. After repairs are complete, use proper insulation or sound deadener where it makes sense for your build. A stock-style restoration may use more traditional materials, while a driver-oriented build may prioritize heat and noise reduction.
Carpet fit can vary depending on floor condition, transmission tunnel shape, and whether the vehicle has seen prior modifications. Test-fit before cutting. The same rule applies to seat belt openings, shifter areas, and sill plate alignment. Trim once, not twice.
Don’t overlook the headliner and sun visors
On vehicles equipped with a headliner, this is often one of the more frustrating parts of the job. Bows need to go back in the right positions, material must be evenly tensioned, and trim edges need to land cleanly. If your original headliner bows are mixed up or rusted badly, expect extra time.
Fresh sun visors help complete the upper cabin area. It sounds minor until the rest of the interior is finished and the old stained visors are still hanging there.
Dash, gauges, and finishing details
The dash is where authenticity shows. A correct dash pad, clean bezel, legible gauge faces, and crisp control knobs do more than improve looks. They make the truck feel sorted.
If you are restoring for factory appearance, pay attention to year-specific features. The right grain, finish, and lens style matter. If you are restoring a driver, reliability may take priority, especially with gauges and heater controls. That trade-off is common, and it depends on whether the vehicle is headed to shows, weekend cruises, or regular road use.
Steering wheels often deserve more attention than they get. Cracks, faded finish, and worn horn components are common. A restored wheel changes the whole feel of the driver’s area because it is the part you touch more than anything else.
Choosing parts that fit the job
Not every interior restoration needs the same mix of parts. Some builds benefit from reproduction components throughout. Others need a combination of reproduction, NOS, and good used parts to stay correct. That is especially true when specific trim pieces, knobs, moldings, or color-matched components are hard to source.
The smartest approach is to buy by function and visibility. High-wear items like weatherstripping, seat covers, carpet, and hardware should be dependable and consistent. Highly visible trim should match the style and finish you are after. And if you’re working on a rare optioned El Camino, getting expert support before ordering can save real frustration.
That is where a specialist matters. A focused inventory and real platform knowledge can help you avoid the common trap of ordering parts that are close, but not quite right, for your year and trim.
Common mistakes that slow down an El Camino interior restoration
Most problems come from rushing disassembly, ignoring leaks, or trying to reuse too much worn hardware. Old fasteners, clips, and retainers may look serviceable on the bench, then fail during installation. Replacing them while the interior is apart is usually money well spent.
Another common mistake is restoring visible surfaces before confirming function. If the heater controls bind, the dome light wiring is corroded, or the window tracks are loose, those issues should be corrected before the fresh interior goes in. Otherwise, you end up taking new parts back apart.
Color mismatch is another issue. Even when parts are labeled correctly, shades and finishes can vary between components and production sources. If you are aiming for a uniform appearance, compare key pieces before final installation.
A restoration that feels right every time you drive
The best answer to how to restore El Camino interior work is not to chase the quickest visual transformation. It is to rebuild the cabin so it looks correct, functions properly, and holds up over time. When the doors shut cleanly, the dash lights glow as they should, the seat feels firm, and the trim fits the way GM intended, the whole vehicle takes a step up.
That kind of result comes from using the right parts, following the right order, and respecting the details that separate a freshened interior from a properly restored one. If you take the time to do those things now, every mile afterward feels like the effort was worth it.