
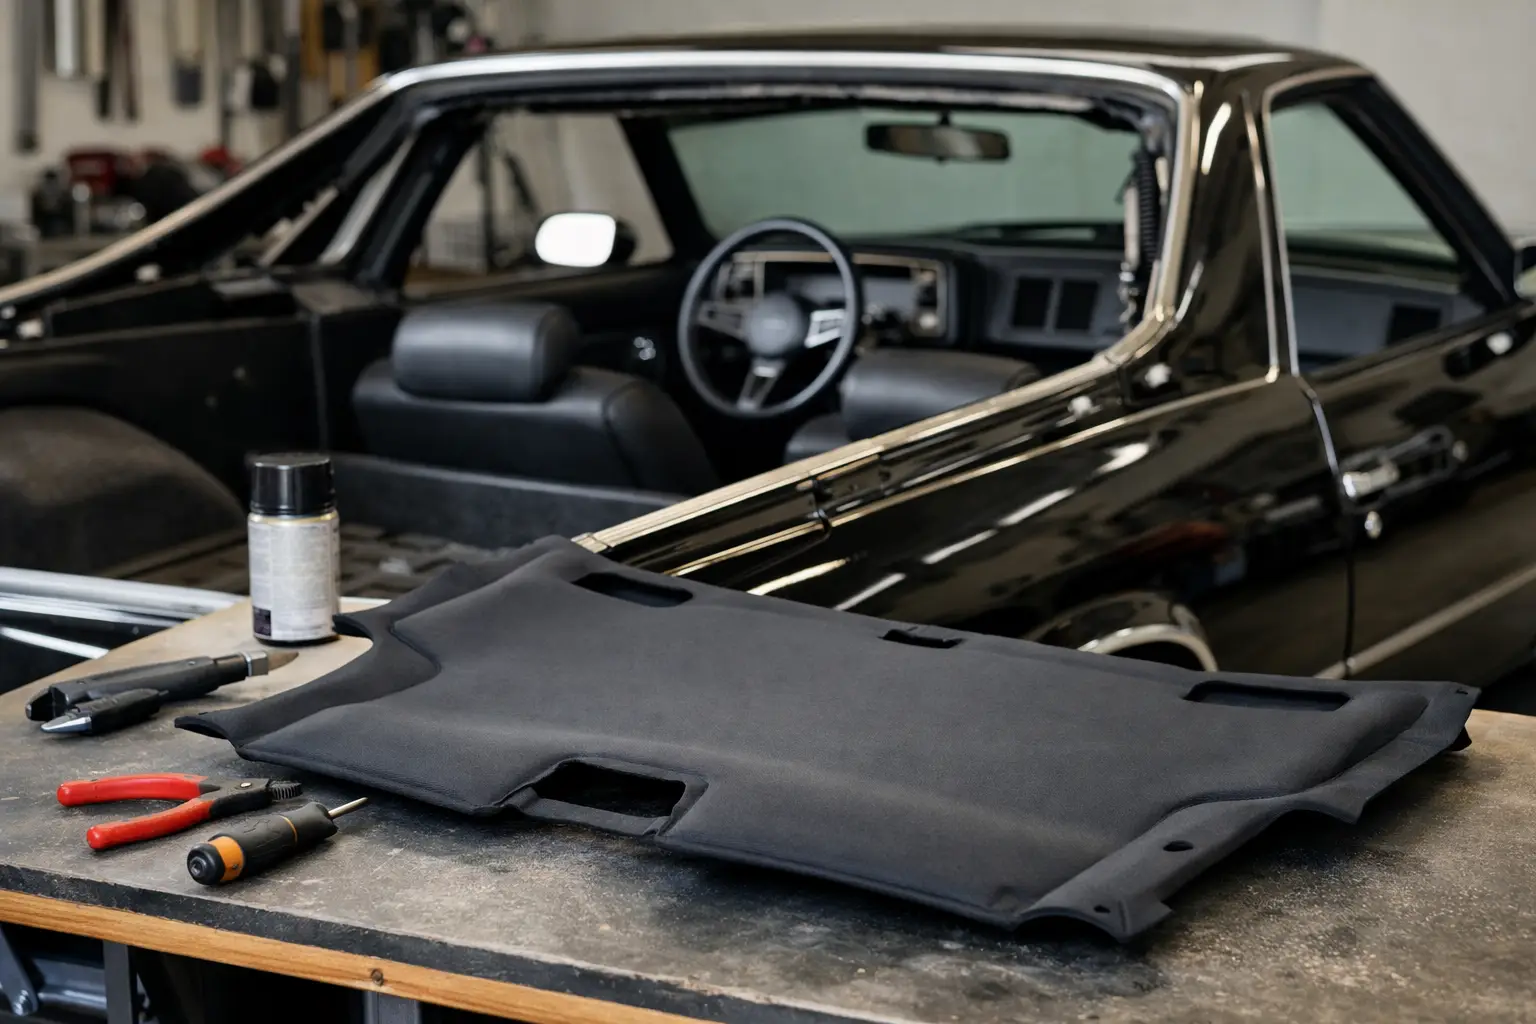
A sagging, stained, or torn headliner can make an otherwise solid El Camino feel unfinished fast. In this el camino replacement headliner review, the real question is not just whether a new headliner looks better – it is whether the material, fit, and factory-style details are good enough to justify the work of installing it.
For most 1968-72 El Camino restorations, replacing the headliner is one of those jobs that sounds simple until you are standing in the garage with bows, trim, adhesive, and a material sleeve that needs to sit straight the first time. That is why buyers usually want more than a basic product description. They want to know how close the replacement is to original appearance, how forgiving it is during installation, and whether the finished result actually improves the interior the way it should.
What matters in an El Camino replacement headliner review
A headliner is not a glamour part until it is wrong. If the grain is off, the seams wander, or the material pulls unevenly around the sail panels and windshield edge, it shows every time you open the door. On an El Camino, where the cabin is compact and the roof panel is highly visible, those details stand out even more.
The best replacement headliners usually get three things right. First is material quality. The vinyl should have the right look and enough body to stretch cleanly without feeling brittle. Second is pattern accuracy. Stitching lines, perforation style where applicable, and sleeve placement for the bows need to reflect original design. Third is fitment consistency. Even a quality material can become frustrating if the cut is too narrow, too short, or uneven from side to side.
That is also where trade-offs come in. Some reproduction headliners are made to balance affordability with decent factory-style appearance. Others aim harder at originality, which can matter if the build is judged or you are trying to keep the cabin period-correct. A weekend driver and a high-level restoration do not always need the exact same product.
Fit and finish: where most headliner kits succeed or fail
In any honest el camino replacement headliner review, fit is the section that carries the most weight. A headliner can arrive in the correct color with clean stitching and still become a problem if the dimensions are off by even a little.
A good replacement should allow enough extra material at the edges for trimming once the bows are set and the headliner is tensioned. If there is not enough margin, you end up fighting the install and risking wrinkles that cannot be pulled out later. If there is too much slack in the wrong places, the final fit can look baggy around the rear corners or above the doors.
Most experienced restorers know that fit complaints are not always the part’s fault. Old roof insulation, bent bows, reused tack strips, and trim variations from previous repairs can all affect the final result. Still, a properly made headliner gives you enough flexibility to work around those issues. That is the difference between a reproduction part that installs like a restoration component and one that feels like universal upholstery material cut to shape.
The better kits tend to hold their shape during installation and respond well to gradual tensioning. That matters because headliner work rewards patience more than force. If the material stretches too easily, it can distort. If it is too stiff, getting smooth contours around the corners becomes harder than it needs to be.
Material quality and factory-style appearance
For El Camino owners who care about original interior character, material quality is more than touch and texture. It is about whether the finished roof looks appropriate for the year and trim level of the truck.
A strong replacement headliner should have a clean vinyl surface, consistent backing, and stitching that runs straight across the panel. Seams should look intentional, not rushed. When installed, the headliner should sit flat between the bows and maintain a uniform appearance from windshield to rear glass area.
Color match is another area where expectations should stay realistic. Even when a replacement is made to factory color standards, a fresh headliner may not perfectly match sun-faded visors, pillar trim, or original rear panels. That does not mean the new part is wrong. It often means the rest of the interior has aged for 50 years. On many restorations, replacing related trim at the same time creates a more consistent result.
If authenticity matters, pay attention to grain and pattern. Lower-cost reproductions can look acceptable in photos but miss the subtle texture that makes an interior feel right in person. That difference may not bother every owner, but it tends to matter more on cleaner builds where the interior is meant to present close to factory condition.
Installation reality: easier with the right expectations
Headliner replacement is one of those jobs where the part and the process are tied together. Even a well-made product can get a bad review if it is installed cold, rushed, or without addressing the surrounding hardware.
The material should be warmed before installation so it relaxes and becomes easier to tension. The bows need to go back in the correct order and position. Adhesive surfaces have to be clean. Windlace, trim edges, and retaining areas should be inspected before the new headliner goes in. A brittle or damaged support point can create wrinkles or looseness that looks like a fit problem but really starts elsewhere.
For first-time installers, this is usually not the place to improvise. Test-fitting, clipping the edges gradually, and working from the center outward makes a big difference. If your El Camino still has original insulation that is sagging or deteriorated above the headliner, now is the time to address it. Otherwise, you risk trapping old problems under new material.
There is also a practical point that many reviews skip. A headliner rarely lives alone. Sun visors, sail panels, dome light trim, weatherstripping, and windshield or rear glass work can all affect how clean the final installation looks. If those related parts are tired, your new headliner may highlight them instead of completing the interior.
Who should buy a replacement headliner, and who should wait
If your current headliner is split, stained, shrinking, or hanging loose, replacement is usually worth it. It lifts the entire cabin and gives the interior a more finished, cared-for feel. For resale, it also helps remove one of the most visible signs of neglect.
If your headliner is presentable but the rest of the interior still needs major work, timing matters. You may want to wait until you are ready to handle trim, insulation, or glass-related tasks at the same time. Installing a headliner twice because another repair came later is not most owners’ idea of a good Saturday.
Buyers doing a driver-quality refresh can usually focus on fit, appearance, and value. Buyers restoring a more original truck should be stricter about grain, color, and pattern accuracy. That is where dealing with a specialist parts source matters. An El Camino is not a generic classic, and interior parts are one of the fastest places to see the difference between close enough and correct enough.
Final verdict on replacement headliner quality
A solid replacement headliner for an El Camino is a worthwhile purchase when it delivers the three things restorers care about most: factory-style appearance, reliable fitment, and enough material quality to install cleanly without unnecessary drama. The strongest products are not just cut to fit the roof. They are made with an understanding of how these GM A-body interiors were originally finished.
No reproduction part is completely free of variables, especially on a vehicle that may have seen decades of repairs, sun exposure, and interior changes. But when the headliner is made correctly and installed with care, the payoff is obvious every time you sit behind the wheel. For many owners, it is one of the interior upgrades that makes the whole restoration feel one step closer to done.
If you are ordering one, buy it with the same mindset you bring to the rest of the build – get the right part for your year, be honest about your installation skill level, and do not treat surrounding trim and hardware as an afterthought. That approach usually saves more time and frustration than trying to force a cheap shortcut into a truck you plan to keep proud of.