
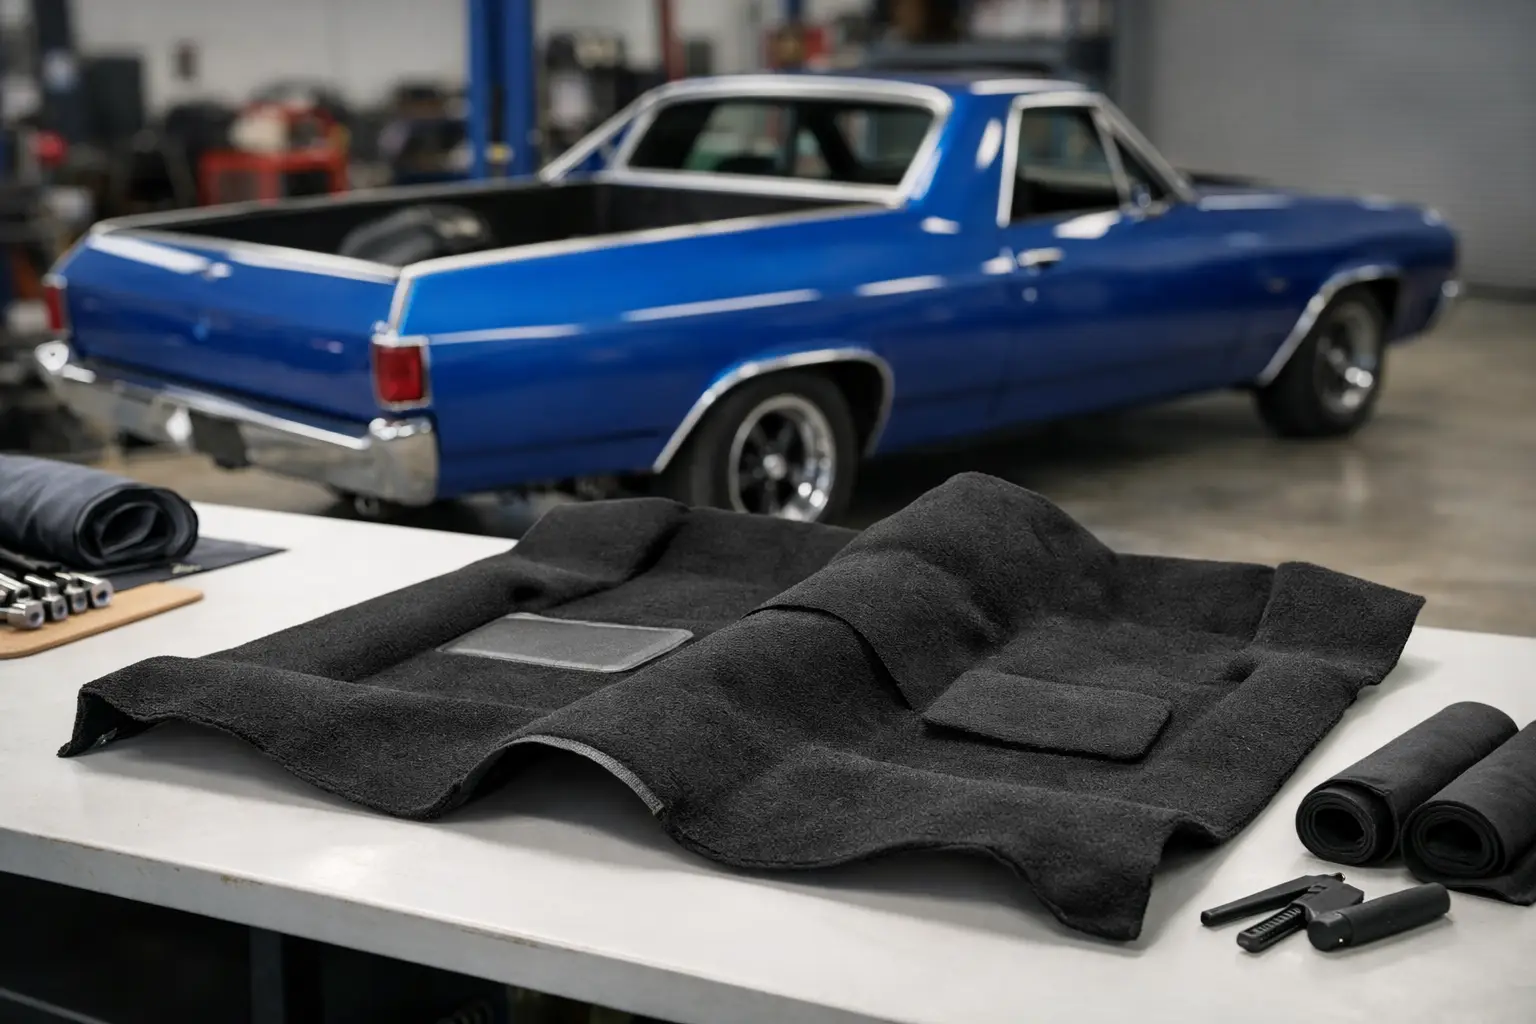
A faded, torn, or sun-baked floor covering can make an otherwise solid truck feel unfinished every time you open the door. The right 1970 El Camino carpet kit restores the cab’s appearance, helps quiet road noise, and gives your interior the clean foundation it needs before seats, sill plates, and trim go back in. But carpet is not a one-size-fits-all purchase. Transmission style, floor condition, material choice, and installation prep all affect the result.
For a driver-quality refresh, a quality molded replacement may be the practical answer. For a factory-focused build, details such as pile style, color, heel pad placement, and the condition of the floor insulation deserve more attention. Knowing where those choices matter will save time, trimming, and frustration when the kit arrives.
Start With Correct 1970 El Camino Carpet Kit Fitment
The 1970 El Camino shares much of its A-body architecture with the Chevelle and Malibu, but its interior is still specific to the El Camino cab. Buy a kit identified for the 1968-72 El Camino body style rather than assuming any A-body carpet will lay correctly. A molded carpet set should follow the basic shape of the front footwells, center tunnel, toe boards, and rear cab floor area.
The first fitment question is transmission type. A manual-transmission floor has a different tunnel opening than an automatic floor. While some molded kits may allow trimming for the shifter opening, starting with the proper configuration produces a cleaner installation and reduces the chance of cutting too much material. Confirm whether your truck has a factory-style automatic console, a column-shift automatic, a four-speed floor shifter, or a modified drivetrain before ordering.
Also account for changes made during a previous restoration. An aftermarket transmission tunnel, custom shifter, patched floor pan, or added sound-deadening material can change how the carpet settles. The carpet should fit the vehicle you have now, not only the way it left the assembly line.
Molded Carpet Is Worth the Difference
Flat carpet yardage may cost less initially, but it is difficult to shape around the El Camino’s floor contours without wrinkles, weak adhesive points, and excess trimming. A molded kit is heat-formed to create the needed contours. It still requires patience and final trimming, but it gives you a far better starting point.
Do not expect any replacement carpet to drop in without adjustment. Factory bodies varied, replacement floor pans can sit slightly differently, and 50-plus years of repairs often leave minor inconsistencies. Proper fit means the carpet can be positioned smoothly and trimmed around permanent parts after it has relaxed into place.
Match the Material and Color to Your Build
Carpet material is one of the areas where restoration goals matter most. Some owners want the visual character of original-style loop carpet. Others prefer cut pile for its softer feel, fuller appearance, and easier day-to-day cleanup. Neither choice is automatically wrong. The best option depends on whether you are preserving factory character, building a clean weekend cruiser, or improving a working driver.
If authenticity is the priority, verify the correct material and color against reliable documentation for your exact trim and original interior components. A color name alone can be misleading. Black, saddle, green, blue, and other period interior shades can vary between manufacturers and can look different beside aged door panels or seat upholstery.
For an interior being restored all at once, order carpet to match the planned seat covers, door panels, and headliner rather than trying to match one faded original piece. For a partial refresh, compare samples or product photos carefully in natural light. Carpet that looks close under garage lighting may show a noticeable difference once the truck is outdoors.
A heel pad is another practical detail. On a driver-side carpet section, it protects the high-wear area beneath the pedals and gives the interior a more finished, original-style appearance. Check that its location and shape work with your pedal arrangement, especially if the vehicle has been converted from automatic to manual transmission.
Inspect the Floor Before Installing New Carpet
New carpet should never be used to hide a floor problem. Pull the old material and inspect the complete cab floor, toe boards, braces, seat mounting areas, and the lower firewall. Surface rust should be addressed before installation. Soft metal, pinholes, damaged seams, and poor-quality patches need a proper repair, because trapped moisture beneath fresh carpet will only make the problem worse.
Look closely at common leak paths. Windshield and rear window seals, cowl drainage issues, door weatherstripping, vent seals, and heater box areas can all introduce water into the cab. If the previous carpet has mildew, rust staining, or a damp odor, find the leak before fitting the replacement kit.
This is also the right time to inspect seat tracks, seat belts, wiring, jute backing, and floor plugs. Replacing worn hardware or repairing a loose ground wire is far easier with the interior apart. A clean, painted, dry floor gives your carpet the stable base it needs to last.
Insulation and Sound Control Options
Many carpet kits include jute padding or backing in selected areas. That backing helps the carpet sit correctly and adds some thermal and sound insulation. It is not the same as a complete sound-deadening system, however.
If you are building a long-distance cruiser, additional insulation can reduce heat and road noise. The trade-off is thickness. Heavy underlayment can interfere with sill plates, seat mounting, pedal travel, and console fitment if it is used everywhere. Keep extra material away from areas where trim must clamp tightly, and test-fit seats and interior panels before making final cuts.
For a factory-style restoration, use insulation that supports the carpet without creating a bulky, overpadded appearance. For a modified truck, focus sound treatment on the firewall, tunnel, and broad floor sections while maintaining clear access to mounting points and drain plugs.
Install Carpet in the Right Order
Good installation is less about rushing and more about allowing the molded shape to work. Unbox the carpet carefully and let it relax in a warm, clean area. Warm material is more flexible and easier to position. On a cool day, gentle sunlight or a warm shop can help, but avoid excessive heat that could damage the backing or alter the pile.
Begin with a completely clean floor and lay the carpet in place without cutting any openings. Center it at the transmission tunnel, work it into the footwells, and check that both sides reach the door sills evenly. Use the shifter opening, seat bolt locations, and seat belt anchors as reference points, but do not cut them immediately.
Once the carpet is positioned, reinstall or test-fit major components in a logical sequence. Start with the shifter or console area, then seats, belts, sill plates, and lower trim. Make small cuts only after confirming alignment. A small X-shaped opening can be enlarged if needed; a large hole cannot be reversed.
Use a sharp utility knife or dedicated carpet tool, and replace blades often. Dull blades pull fibers and make ragged edges. Keep cuts hidden beneath trim wherever possible. For seat mounts and belt anchors, cut only enough material for the hardware to pass through, then confirm the bolts thread cleanly into the floor before tightening anything.
Avoid gluing the entire carpet to the floor unless the kit instructions and your specific application call for it. The seats, sill plates, console, and trim normally secure major areas. Adhesive can be useful in limited locations, but a full glue-down can make later service more difficult and may trap moisture if the floor is not perfectly dry.
Details That Make the Finished Interior Look Right
Fresh carpet draws attention to surrounding components. Scuffed sill plates, cracked kick panels, missing seat belt bolts, brittle weatherstripping, and worn pedal pads often stand out once the floor is clean. That does not mean every interior part must be replaced at once, but planning those companion pieces prevents repeated disassembly.
Pay special attention to the sill area. The carpet edge must sit correctly beneath the sill plates without bunching, and the plates need to secure firmly. Improperly positioned carpet at the door opening can wear quickly from shoes sliding across it. At the firewall, make sure the carpet does not interfere with pedal movement or bind behind the accelerator pedal.
Classic Parts has spent more than 40 years helping enthusiasts source the interior, weatherstrip, hardware, and restoration parts that turn a carpet replacement into a finished El Camino cab. When fitment questions involve a console, shifter conversion, replacement floor pan, or non-original drivetrain, getting specialist guidance before ordering is usually cheaper than correcting the wrong kit later.
Before you make the first cut, put the carpet in place, step back, and check every reference point one more time. A few extra minutes spent centering the tunnel and test-fitting trim is what separates a replacement floor covering from an interior that looks like it belongs in your 1970 El Camino.