
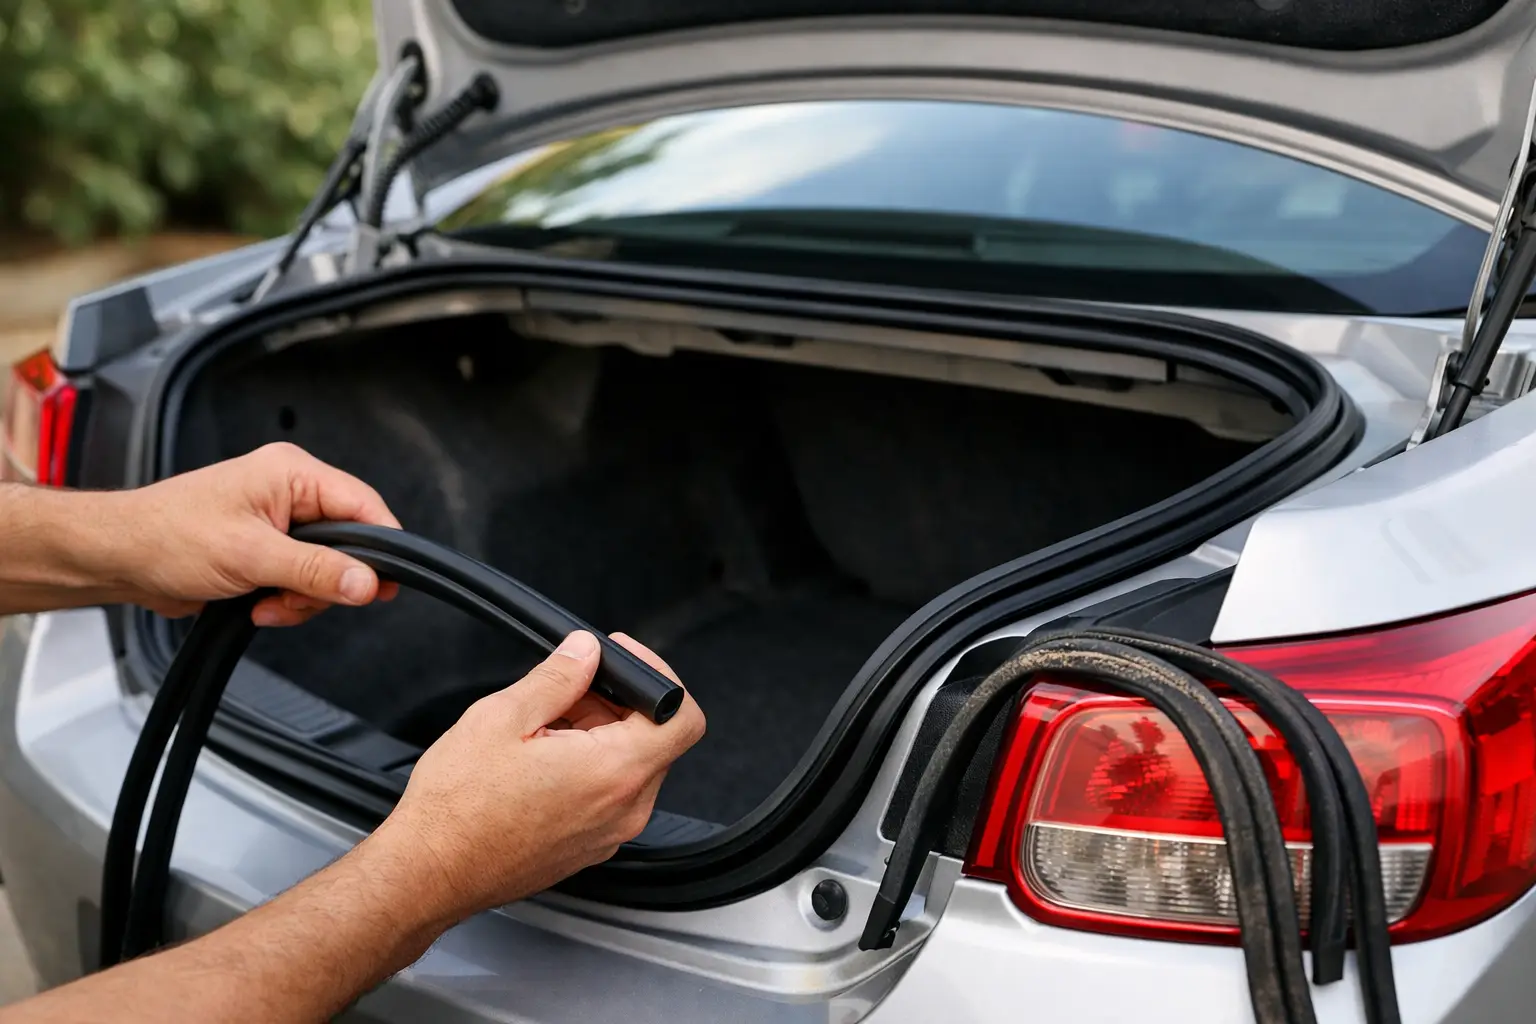
A wet trunk can ruin more than a spare tire well. On a classic Malibu, a tired trunk seal lets moisture reach trunk mats, quarter-panel seams, fuel tank hardware, and the areas that are hardest to inspect once corrosion starts. Knowing how to replace Malibu trunk weatherstrip correctly is one of those straightforward restoration jobs where careful preparation matters more than brute force.
A new weatherstrip should close the gap between the trunk lid and body evenly, without forcing the lid high or leaving a corner loose. The goal is not simply to install new rubber. It is to restore a dry, factory-tight trunk opening that protects the work you have already put into your car.
Confirm the Right Malibu Trunk Weatherstrip First
Chevelle and Malibu trunk weatherstrips are year-sensitive, and fitment should always be verified before adhesive comes out. The trunk opening, lid shape, and weatherstrip profile changed across the 1964-72 A-body run. A seal intended for a later Malibu may look close enough to install on an earlier car, but it can sit too tall, miss a corner radius, or place the molded joint in the wrong area.
Order by model year and body style whenever possible. If your car has replacement sheet metal, an aftermarket trunk lid, or previous collision repair, expect minor fitment differences even with a factory-style seal. This is common on long-running restorations and does not automatically mean the weatherstrip is wrong.
Before removing the old seal, lay the new one around the trunk opening without glue. Check that its corners follow the channel naturally and identify the location of any molded ends or seam. Do not stretch the rubber to make it reach. A weatherstrip installed under tension can shrink back over time and pull away from the channel.
Tools and Supplies for the Job
You do not need a full shop to replace a Malibu trunk seal, but the right materials will keep the repair clean and durable. Gather a plastic trim tool or dull scraper, rags, a suitable adhesive remover, mild soap and water, masking tape, weatherstrip adhesive, and gloves. A small wire brush or nylon abrasive pad can help with stubborn old adhesive, especially around the lower corners of the trunk channel.
Avoid a sharp screwdriver or aggressive grinder near painted edges. It is easy to chip paint in the gutter, and a small chip under a new seal can become a hidden rust problem. If the channel has surface rust, address it before installation with the proper cleaning, treatment, primer, and touch-up process. New rubber should never be used to cover unfinished metal repair.
Remove the Old Seal Without Damaging the Channel
Open the trunk and inspect the existing weatherstrip before pulling it free. Note where the seam sits and how the seal was positioned in the channel. Even a badly flattened original seal can provide useful clues about the factory path.
Start at a loose end or an area where the rubber has already separated. Pull gradually while working a plastic tool beneath the weatherstrip as needed. Old adhesive may release in sections, particularly if the car has been exposed to heat for decades. Resist the urge to yank the entire seal out in one pull. That can tear loose paint or bend a thin edge in the trunk gutter.
Once the rubber is removed, scrape away the old adhesive. Work in short sections, then wipe the area with adhesive remover according to the product directions. Follow with soap and water so the channel is clean and dry before the new adhesive is applied. Adhesive sticks to clean metal and sound paint, not to dust, old glue, wax, or solvent residue.
Take extra time at the lower corners and around the latch area. Water naturally collects in these sections, which makes them the most likely places for rust, hardened adhesive, and poor seal contact.
Dry-Fit the Weatherstrip Before Using Adhesive
A dry fit is the best insurance against an uneven installation. Set the new weatherstrip into the channel and work around the opening without adhesive. Let the rubber rest in its natural shape. If it has been folded in a box, laying it flat in a warm garage for a while can help it relax before installation.
Check the corners first. The rubber should follow the curves without bunching, twisting, or being pulled tight. Then look at the lower section and seam. Many factory-style weatherstrips are designed to place the joint at a specific point, often away from an upper corner where water can sit. Follow the shape and molded features of the seal rather than forcing a preferred seam location.
Close the trunk lid gently during the dry fit. Do not slam it. You are checking for obvious interference, not trying to fully compress an unglued seal. If the lid sits high, verify that the seal is fully seated in the channel and that the profile has not rolled over. A new seal is usually firmer than the old one, so some additional closing effort at first can be normal.
How to Replace Malibu Trunk Weatherstrip With Adhesive
After confirming fitment, remove one manageable section of the dry-fitted seal. Apply weatherstrip adhesive sparingly to the trunk channel and the mating surface of the weatherstrip if the adhesive instructions call for contact application. Work in sections rather than coating the entire opening at once. This gives you time to position the rubber accurately and keeps adhesive from drying before the seal is in place.
Begin at the seam or a defined molded reference point, then press the seal into place a few inches at a time. Keep the bulb portion facing the same direction it did during the dry fit. The base must lie flat in the channel, with no twists hidden beneath the rubber.
Continue around the trunk opening, pausing at each corner to make sure the weatherstrip is following the radius naturally. Do not stretch it across long straight sections. If a section seems too long, stop and recheck the placement behind you. Stretching is usually the cause, not excess material.
Use masking tape to hold stubborn corners and the seam while the adhesive sets. Tape can also keep the seal from creeping out of position on vertical sections. Wipe away any adhesive squeeze-out immediately with a suitable cleaner and a clean rag. Once cured, dried adhesive is much harder to remove without damaging paint.
Allow the adhesive to set according to its directions before repeatedly opening and closing the trunk. Weatherstrip adhesive needs time to develop its holding strength, especially in a cool garage.
Check Trunk Lid Alignment Before Blaming the New Seal
A fresh weatherstrip often reveals an alignment issue that the old, flattened seal had been hiding. If one corner of the trunk lid is noticeably higher, inspect the lid hinges, latch, striker, and rubber bumpers before trimming or modifying the weatherstrip. On a restored Malibu, replacement quarter panels, deck fillers, or trunk lids can also affect the gap.
The trunk should latch securely without excessive force. It may take a few days for a new seal to compress and settle, but the lid should not require repeated slamming. If it does, inspect whether the seal is seated too high, doubled over in a corner, or incorrectly positioned in the channel.
Do not cut a new weatherstrip to solve a lid-fit problem unless the part was specifically designed to be trimmed and its instructions say to do so. Factory-style molded seals are meant to fit as supplied. Cutting can create a gap that becomes a direct path for water.
Test for Leaks the Right Way
After the adhesive has cured, perform a controlled water test. Close the trunk, then use a gentle stream of water over the rear glass, deck lid edges, and trunk opening. Avoid blasting the car with a pressure washer, which can force water past seals that would perform normally in rain.
Inspect inside the trunk with the mat pulled back. Look along the lower weatherstrip channel, trunk floor seams, tail panel area, and wheelhouse corners. If water appears, do not assume the trunk seal is the only cause. Classic A-body cars can leak through rear window moldings, tail light housings, trunk lid seams, quarter-panel joints, or rusted floor areas.
A properly fitted weatherstrip is a simple part with a major job. Take the time to clean the channel, dry-fit the seal, and correct any lid alignment issue before final bonding. That careful approach keeps your Malibu trunk dry and protects the original-performance restoration work that makes these cars worth preserving.