
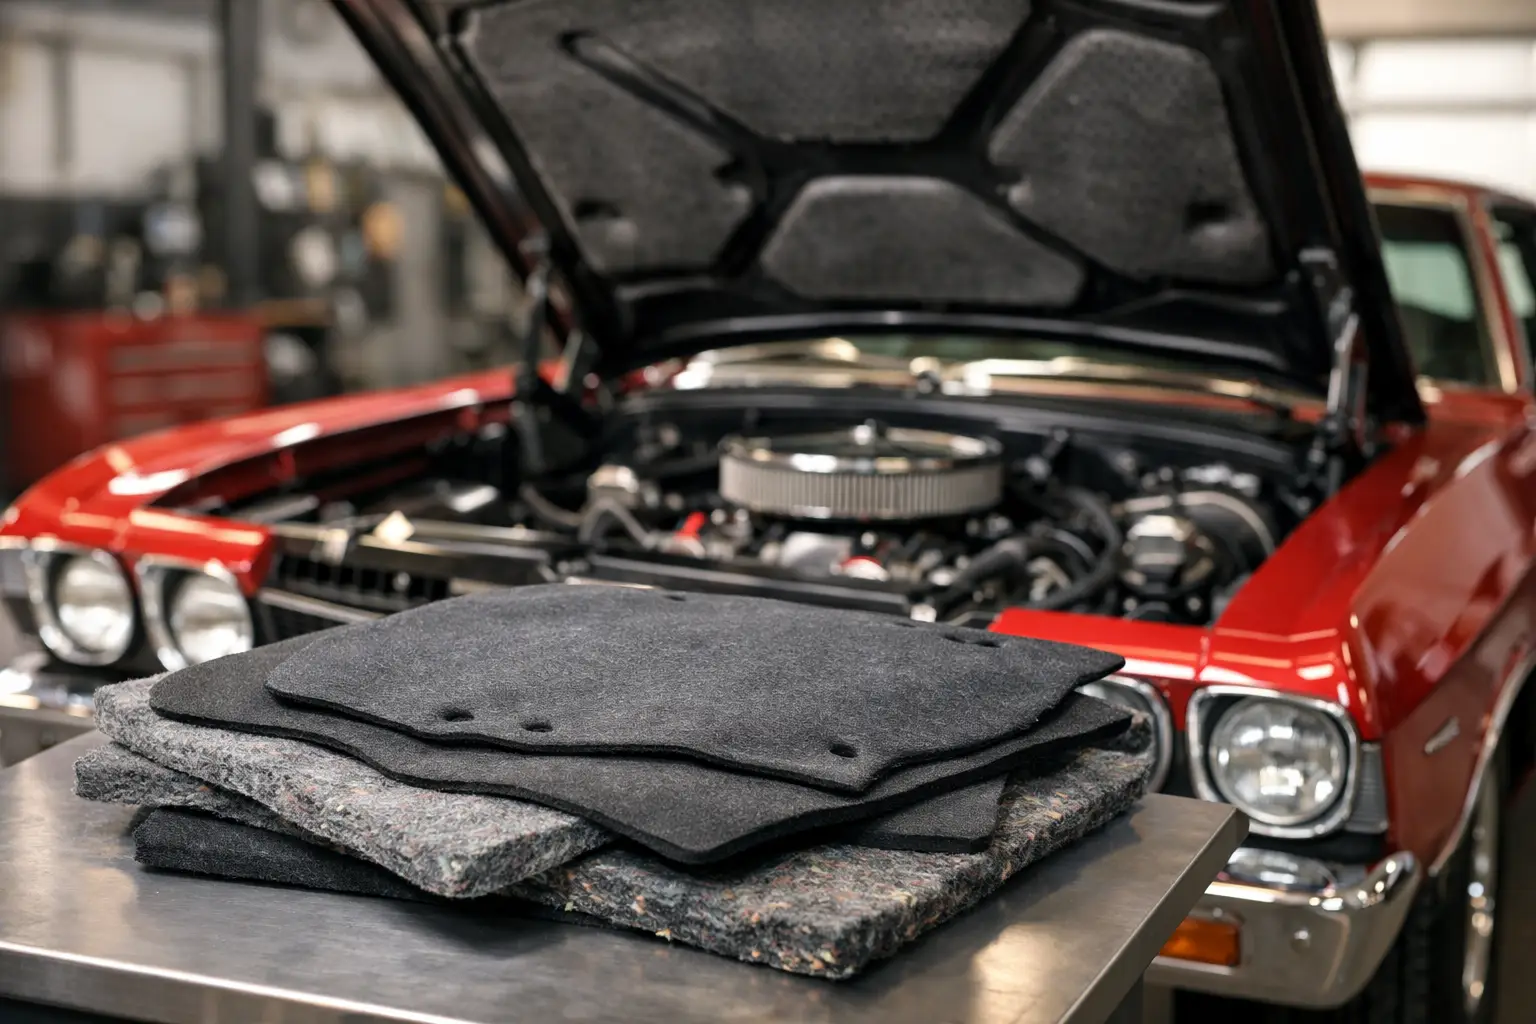
A missing, sagging, or oil-soaked hood pad can make an otherwise well-finished Chevelle engine bay look unfinished. The best Chevelle hood insulation pads do more than fill the underside of the hood. They restore the factory appearance, help control engine and mechanical noise, and provide a measure of protection against underhood heat. Choosing the right one comes down to your model year, restoration standard, and the condition of the hood itself.
For a concours-minded restoration, the goal is usually a pad that matches the original shape, thickness, edge profile, and clip locations as closely as possible. For a dependable driver, a well-fitting reproduction pad with durable material may be the smarter investment. Either way, fitment matters more than a bargain price on a universal-looking panel that needs trimming, stretching, or extra fasteners to stay in place.
What Makes the Best Chevelle Hood Insulation Pads?
The right hood insulation pad should sit flat against the hood’s inner bracing, follow the factory contour without tension, and use the correct mounting-hole pattern. A pad that is slightly oversized can bunch at the edges. One that is undersized can expose the hood structure and look out of place from the first time the hood is raised at a show or cruise night.
Material quality is equally important. Original-style hood insulation is generally a pressed fiber material designed for the period-correct look found on 1964-72 GM A-body cars. It should be firm enough to resist drooping but flexible enough to install without cracking around the mounting holes. Very soft material may absorb moisture and sag. Material that is too rigid can split during installation or fail to contour around the hood’s stamped reinforcement ribs.
The best choice is not always the thickest pad. A pad that looks factory-correct and fits the hood structure properly will usually deliver a better restoration result than a thicker aftermarket alternative that interferes with the bracing or hangs below the hood edge.
Start With Your Chevelle’s Year and Hood Style
Chevelle, Malibu, and El Camino parts are often grouped together because they share the GM A-body platform, but hood details can vary by year and body style. Before ordering a hood pad, confirm the model year, the hood currently on the car, and whether it is an original hood or a replacement sheet metal piece.
This matters because a 1964-67 hood, a 1968-72 hood, and certain performance or replacement hoods may use different reinforcement patterns and clip-hole locations. A hood may also have been swapped during a previous restoration. It is not unusual to find a later hood on an earlier car, especially on a driver that has been on the road for decades.
Open the hood and inspect the underside before buying. Count the existing mounting holes, look for unused holes or repairs, and compare the bracing layout to the year-specific application. If the hood has been repainted, check whether paint buildup has partially closed the clip holes. Taking a few measurements before ordering can prevent an avoidable fitment problem later.
Factory-Correct Restoration vs. Driver Quality
For a factory-correct build, prioritize year-specific reproduction parts made to follow the original profile. The edge appearance, surface texture, and hole placement all contribute to the look of an authentic engine compartment. This is particularly relevant on an SS restoration, a survivor-style build, or any car judged with the hood open.
For a street-driven Chevelle, durability and clean fit may carry more weight than exact texture. If the vehicle sees regular heat cycles, highway miles, and frequent washing, choose a pad that mounts securely and holds its shape. It is still worth selecting an application-specific part. A driver-quality restoration should not mean accepting a loose pad that rattles, sags, or looks incorrect.
Do Not Overlook the Retainer Clips
Hood insulation retainers are small parts, but they do the work that keeps the pad from falling down. Reusing old clips can be tempting, especially when they appear intact. In practice, aged retainers often lose tension, rust, bend, or break during removal. A new pad deserves new clips.
Use retainers designed for the hood and insulation pad application whenever possible. Generic hardware-store fasteners can have the wrong head diameter, shaft length, or grip range. They may not hold the fiber material securely, and they can make a carefully restored engine bay look improvised.
Install the clips after checking that every hole in the hood is clean and open. If a hole is distorted or filled with paint, correct it carefully rather than forcing the clip. Forcing a retainer can tear the pad’s mounting hole, bend the hood structure, or leave the clip unable to seat fully.
Material Condition and Underhood Heat
A hood pad should not be expected to cure an overheating issue or dramatically lower engine-bay temperatures. Its main job is insulation and appearance, not replacing a proper cooling system, fan shroud, radiator, or heat management plan. Still, a correctly fitted pad can help soften mechanical noise and protect the hood’s painted outer skin from some of the heat rising off the engine.
If your old pad is soaked with oil, fuel residue, coolant, or years of grime, replacement is usually the right call. Cleaning may improve the surface temporarily, but saturated fiber insulation can hold odor and moisture. It may also become fragile enough to shed material onto the engine.
Before installing the new pad, identify the source of contamination. Valve cover leaks, a leaking breather, carburetor overflow, and a faulty hood seal can quickly stain a fresh pad. Correcting those problems first protects your investment and leaves the engine compartment looking right for the long haul.
How to Install a Chevelle Hood Pad Without Damage
Installation is straightforward, but a second set of hands makes the job safer and cleaner. Support the hood securely, especially if the hinges or springs are worn. Lay the pad against the underside of the hood with the correct side facing down, aligning it with the bracing and mounting holes before inserting any clips.
Start with a center mounting point or the location that best establishes the pad’s alignment, then work outward. This approach helps keep the pad centered and prevents wrinkles. Do not pull hard on the material to make a hole reach a clip location. If the holes do not line up, stop and verify the application, orientation, and hood configuration.
Once installed, close the hood slowly and inspect the fit around the edges. Make sure the pad does not extend into the hinge area, contact moving linkage, or interfere with any underhood components. After the first few drives, reopen the hood and confirm that all retainers remain seated.
When a Hood Pad May Not Be the Right Choice
There are situations where leaving the insulation pad off is intentional. A race-oriented car may prioritize weight reduction, quick access, or a stripped-down engine-bay appearance. Some aftermarket fiberglass or cowl-induction hoods may not have the factory inner structure needed to accept a stock-style pad. In those cases, forcing an original-style insulation panel into place is not the answer.
For most restored street cars, however, the hood pad is a finishing piece worth installing. It covers the stamped bracing, reduces the bare-metal look when the hood is open, and makes the engine compartment feel complete. On a 1964-72 Chevelle, the details under the hood carry as much pride as the paint and trim outside.
Classic Parts has spent more than four decades helping enthusiasts source the right restoration components for Chevelle, Malibu, and El Camino builds. When selecting an insulation pad, match the part to the car you actually own, replace tired retainers at the same time, and give the underside of the hood the same careful attention as the rest of the restoration.