
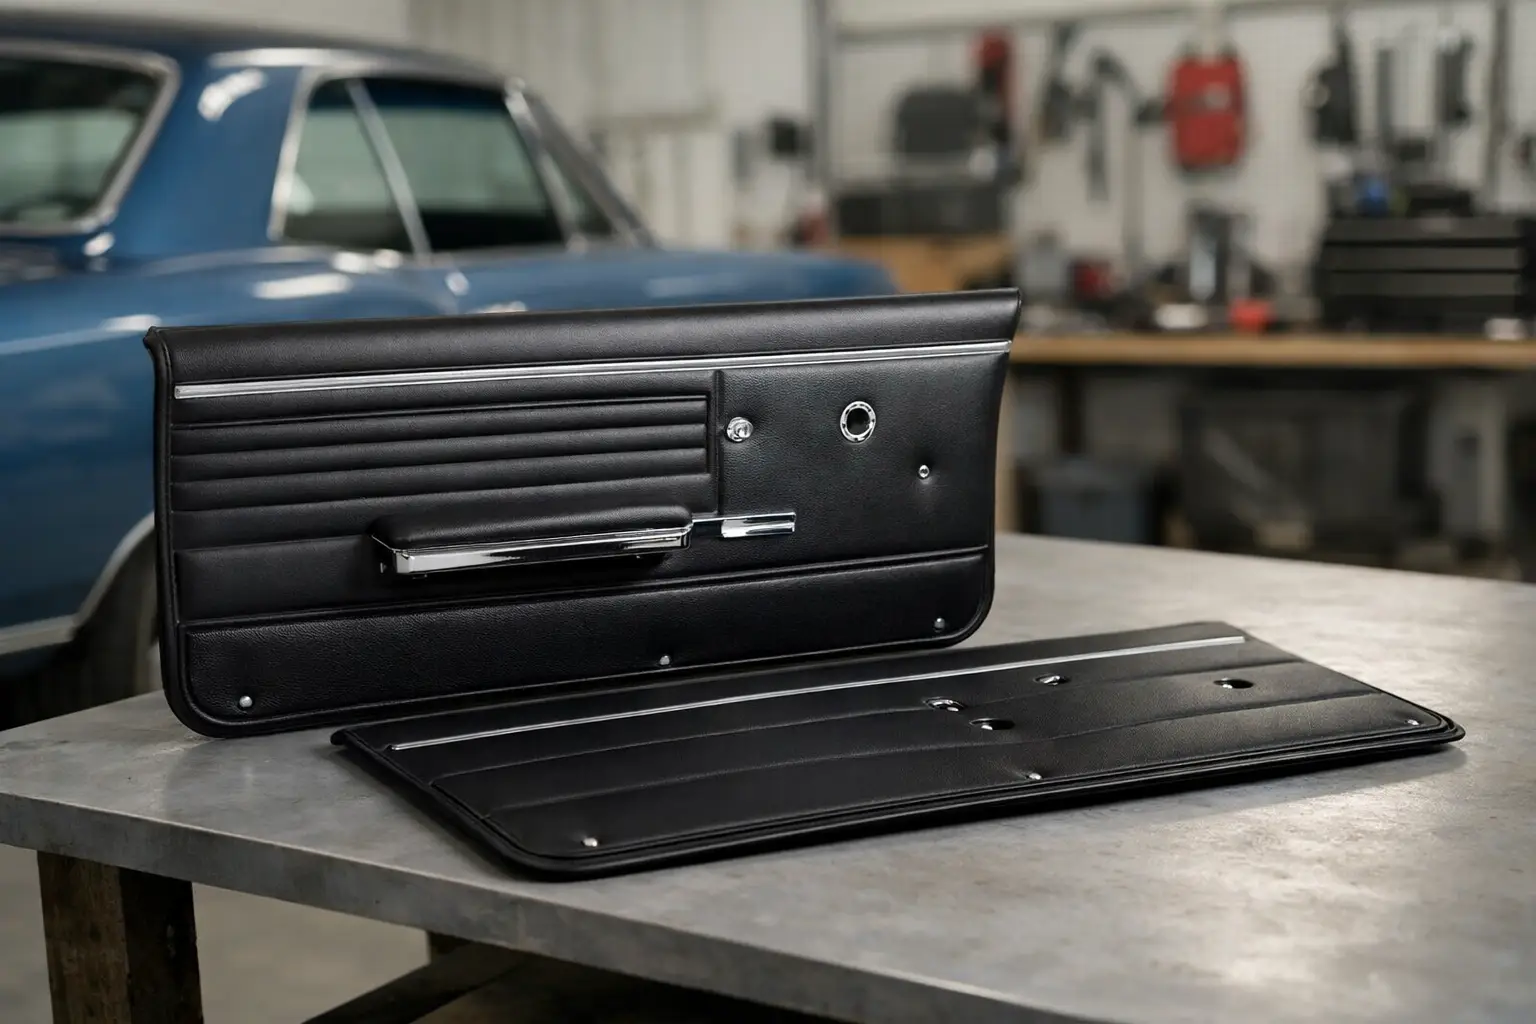
A fresh set of 1966 Malibu door panels can change the entire feel of the cabin, but only when the pattern, color, mounting points, and related hardware match the car. A panel that looks good in a catalog photo can still create trouble if it is intended for a different body style, interior level, or door configuration. For a restoration that feels right every time you close the door, fitment has to come before appearance.
The original 1966 Malibu interior has details that matter: vinyl grain, heat-sealed patterns, bright trim placement, armrest provisions, and the relationship between the panel and the window crank or door handle. Whether you are returning a survivor to factory character or refreshing a driver-quality interior, the right choices now prevent expensive do-overs later.
Choosing 1966 Malibu Door Panels
Start by identifying exactly what you own. A 1966 Malibu two-door sport coupe, convertible, sedan, and wagon do not all use the same interior panels. Front doors may appear similar at first glance, but panel length, upper contours, armrest mounting, hardware holes, and trim details can vary. Rear quarter panels are even more body-style specific.
Do not assume a panel listed for a Chevelle will automatically be correct for every Malibu. The 1966 Chevelle family shares much of its A-body structure, but factory interior packages and body styles create meaningful differences. Verify the vehicle’s body style, number of doors, interior code when available, and whether the car was equipped with standard or upgraded interior trim before ordering.
A factory-correct restoration also calls for attention to the panel’s design. Some panels are supplied with the correct stitched or heat-pressed pattern, while others are intended as a simpler replacement for a driver. Neither choice is wrong. The deciding factor is your goal. A high-point show car deserves the closest possible match to original materials and trim. A weekend cruiser may be better served by a durable replacement panel that fits cleanly and holds up to regular use.
Original, Used, or Reproduction Panels?
Original panels have undeniable value when they are clean, complete, and structurally sound. They may retain factory grain, original trim, and details that are hard to duplicate. The trade-off is that nearly 60 years of heat, moisture, and sunlight often leave the backing board warped, the vinyl brittle, or the mounting holes damaged. Restoring original panels can become a larger project than expected.
Used panels can be a practical answer when you need original trim pieces, a hard-to-find color, or reference material for a correct restoration. Inspect them closely for swelling along the lower edge, pulled clip holes, cracked armrest areas, fading, and previous repairs. A panel that is solid in the center but soft at the bottom has likely absorbed moisture and may not stay flat once installed.
Quality reproduction panels make sense for many 1966 Malibu restorations because they provide clean materials, consistent appearance, and dependable mounting surfaces. Construction varies by product. Some panels use a traditional-style fiberboard backing covered in vinyl, while others use more moisture-resistant modern materials. Traditional construction may best suit an authenticity-focused build, while modern backing can be a worthwhile choice for a vehicle that sees regular road time. Confirm what is included, because trim, armrests, emblems, clips, and hardware are not always supplied with the panels.
Match the Panel to the Rest of the Interior
Door panels are large visual surfaces. Even a close color mismatch will stand out against original rear panels, seats, carpet, and dash pads. If you are replacing only the fronts, compare the new color to the existing interior in natural light. Garage lighting can make black, blue, red, gold, and aqua shades look closer than they really are.
For the most consistent result, restore related pieces together. Fresh front panels beside faded rear quarter panels can make the older parts look worse than they did before. The same is true of armrest pads, window crank knobs, door handle escutcheons, and bright trim. Replacing these small contact points can make a reproduction panel look finished rather than merely installed.
If your Malibu has painted metal around the upper door area, inspect that finish before fitting the panel. Chips and rust around the window opening are easier to address while the panel is off. This is also the right time to decide whether original stainless or aluminum trim can be reused. Straight, well-preserved original trim often has a more authentic appearance than damaged trim transferred to a new panel.
Check Your Doors Before Installing New Panels
A new door panel cannot correct a worn-out door. In fact, it can hide problems until they damage the new material. Open and close each door, then check for sagging, latch misalignment, loose hinges, and window glass that binds or rattles. If the window regulator needs service, handle that work before the panel goes on.
Inspect the inner door for rust, loose fasteners, sharp edges, and missing hardware. The lower door drain holes must be clear. Water that enters through the window sweep should be able to leave through the bottom of the door. When drains clog, moisture sits inside the shell and eventually attacks both the door metal and the bottom of the panel backing.
A moisture barrier between the door shell and panel is not a cosmetic extra. It helps keep water and condensation away from the panel while reducing drafts and rattles. If the original vapor barrier is torn or missing, replace it before installing new upholstery. Use an appropriate adhesive and make clean openings for the crank, handle, and armrest mounts rather than leaving large gaps.
Installation Details That Protect the Finish
Lay the new panel flat and let it acclimate to the shop temperature before installation. Avoid leaving vinyl panels in extreme heat, and do not force a cold panel around corners. Confirm the placement of every mounting hole against the door before adding clips or trim.
Use the correct panel clips and make sure they align with the holes in the door shell. Reusing old clips can save a few dollars, but weak, rusted, or bent clips are a common reason panels sit loose or rattle. Install the clips carefully and press the panel straight into place. Sliding or dragging the panel across the door can tear the backing around the clip locations.
Before tightening armrest hardware, make certain the screws are engaging the proper mounting points in the door. An armrest is used every time someone enters or exits the car, so it needs solid support. Over-tightening can distort the panel or pull the vinyl around the mounting area. Snug, aligned hardware is better than forcing the parts together.
Test the window crank, interior handle, lock knob, and door latch before calling the job complete. The crank should turn without rubbing the panel, and the handle should return freely. If a part binds, stop and correct the opening or escutcheon fitment. A small interference issue can quickly wear a ring into new vinyl.
Build the Order Around the Whole Door
The most efficient restorations treat the door panel as part of a complete door interior project. Along with the panels, inspect the armrests, bases, clips, window cranks, door handles, escutcheons, weatherstrips, window sweeps, moisture barriers, and fasteners. Ordering these components together reduces downtime and helps avoid reinstalling a panel because one small piece was overlooked.
Classic Parts has spent more than four decades helping A-body owners locate the details that separate a quick interior refresh from a properly finished restoration. When fitment questions come up, having the car’s body style, interior information, and photos of the existing panels available makes it easier to select the right parts the first time.
A 1966 Malibu deserves door panels that sit flat, operate cleanly, and look at home with the rest of its interior. Take the extra time to confirm the details behind the panel, and every drive will remind you why these Chevrolet A-bodies remain worth restoring.