
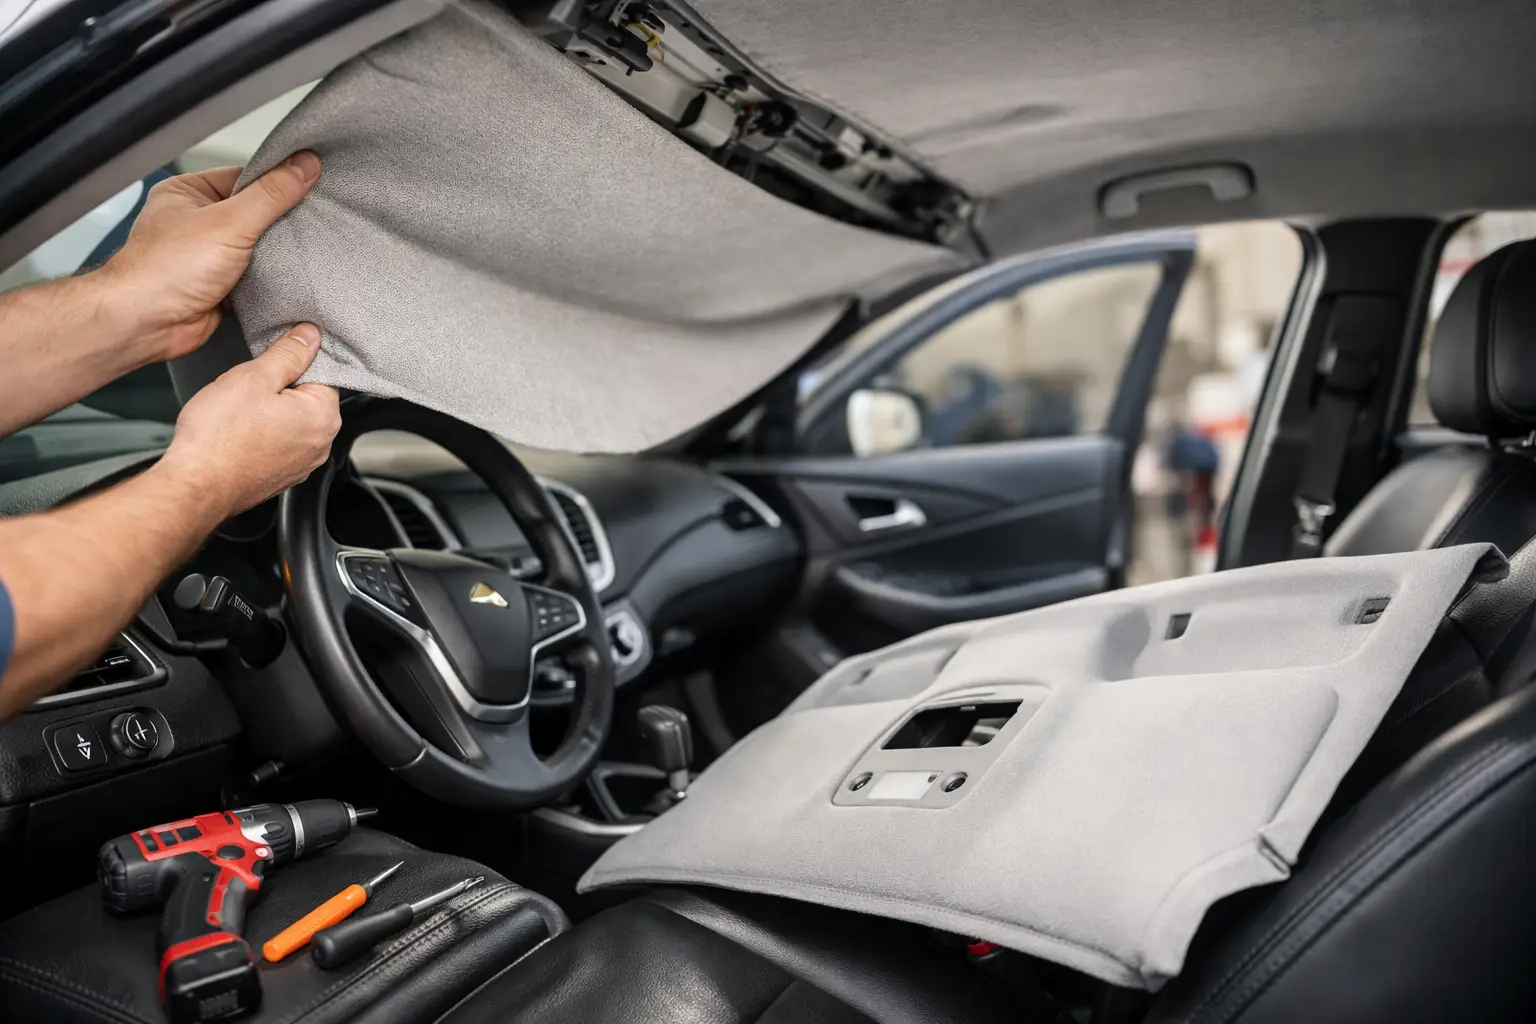
A sagging headliner can make an otherwise well-finished Malibu look tired every time you open the door. The good news is that this job is within reach for a careful home restorer. Knowing how to replace a Malibu headliner comes down to preserving the original bow layout, choosing the correct material for your roof style, and taking your time when tensioning and trimming the new cover.
For 1964-72 Malibu, Chevelle, and El Camino owners, headliner fit is not one-size-fits-all. Two-door hardtops, sedans, wagons, and vehicles with different roof configurations use different patterns, bow counts, and mounting arrangements. Confirm your exact body style and model year before ordering anything. A factory-style replacement that matches your application will save substantial time compared with trying to force a close-but-not-correct kit into place.
Start With the Right Headliner Parts
A clean installation begins before the old material comes out. Inspect the condition of the headliner bows, roof rail retainers, windlace, sail panels, sun visor brackets, dome light wiring, and front and rear glass weatherstripping. A brittle retainer or torn windlace may not hold the new material securely, no matter how carefully the headliner itself is installed.
The original bows are especially important. They determine the shape and tension of the finished headliner, and many are slightly different from one another. If your car still has its factory bows, preserve them. Mark each one as it comes out, including its front-to-rear position and orientation. Masking tape and a marker work well. Do not assume the bows are interchangeable just because they appear similar on the garage floor.
Before starting, gather a few essentials:
- A correct replacement headliner for your Malibu body style
- Headliner bows, retainers, and windlace as needed
- Phillips and flat-blade screwdrivers, trim tools, and small pliers
- Masking tape, a marker, sharp scissors, and a fresh utility knife blade
- A steamer or heat gun used on a low setting for final wrinkle removal
- Clean gloves and a helper for positioning the material
If you are restoring the interior to factory-correct standards, choose material and grain that suit your car’s original trim level. Color, perforation pattern, and seam placement all matter in a classic GM interior. For a driver-quality build, a quality reproduction headliner remains a smart improvement, but proper fitment is still the difference between a finished interior and one that looks improvised.
Remove the Old Headliner Without Losing Its Road Map
Disconnect the battery before removing the dome light assembly or working around any interior wiring. Then remove the sun visors, visor brackets, rearview mirror if applicable, coat hooks, dome light lens and housing, shoulder belts, and any trim pieces that overlap the headliner edges. On many cars, this includes the windshield pillar moldings, rear pillar trim, and windlace.
Work slowly around aged plastic and painted trim. Original pieces may be irreplaceable, expensive, or simply harder to find than the headliner material itself. Photograph each area before removal, especially the sail panel and rear window sections. Those photos can be more useful than a memory after several weekends of restoration work.
Once the perimeter is exposed, release the old headliner from its retainers. On a bow-style installation, the material will remain suspended by the bows. Carefully remove one bow at a time and label it immediately. Keep the bows in order on a clean surface. If a bow is rusty, lightly clean it and treat it before reuse. Heavy corrosion can stain fresh material or create a rough spot that eventually wears through the fabric.
With the roof exposed, inspect the metal structure. This is the time to address surface rust, loose insulation, old adhesive residue, or clogged roof drain areas on applicable body styles. Do not install new material over a wet roof, active leak, or flaking rust. Headliner work should be one of the final interior steps after water intrusion has been corrected.
How to Replace Malibu Headliner Fabric Step by Step
Lay the new headliner out in a clean, warm area and let it relax. Cold material is less cooperative and more likely to show stubborn wrinkles. Identify the front and rear of the cover, then transfer the original bows into the sewn sleeves in the same sequence. Most replacement headliners are patterned for specific bow locations, but compare everything to the old material and your reference photos before hanging it.
Begin with the center bow or the designated center mounting point for your application. This establishes the headliner’s position across the roof. Install the remaining bows in order, making sure each end seats properly in its roof support. The material should hang evenly from side to side. If one seam looks noticeably crooked, stop and correct the bow placement before moving forward.
Next, lightly secure the headliner at the front and rear center points. Do not trim anything yet. The objective is to locate the material, not pull it tight all at once. Then work outward in small, alternating adjustments: a little tension at the front, then the rear, then one side, then the other. This balanced approach prevents the seams from wandering and helps the fabric follow the roof contour naturally.
On many classic Malibu installations, the perimeter is retained by windlace, trim, tack strips, or dedicated retainers rather than a modern glued edge. Follow the design used by your body style. Use the windlace and molding to capture the material gradually, checking the seam alignment every few inches. A helper makes this stage easier because one person can hold tension while the other installs the trim.
The material should be firm, but it should not be stretched so aggressively that seams flatten, distort, or pull away from the bows. Gentle, even tension is the goal. If the headliner was cut correctly for the car, the excess material at the edges should remain until all sides are secured and the trim fit has been verified.
Trim Openings Only After the Fit Is Set
This is where many otherwise good installations go wrong. Do not cut visor, dome light, mirror, coat hook, or seat belt openings until the headliner is fully tensioned and held in place. Once an opening is cut, there is no easy way to move the material if the fit needs adjustment.
Locate each opening by feel, then make a small X-shaped cut in the center. Keep the initial cut smaller than the hardware footprint. Expand it carefully only as needed for the bracket or screw. The hardware and trim will cover a modest opening, but an oversized cut can remain visible and weaken the area around the mounting point.
Before reinstalling trim, inspect the headliner from every seat position. Look down the center seams from the rear of the car and check that they run straight toward the windshield. Watch for loose corners, uneven side tension, and material caught behind a molding. Correcting a minor issue now is far easier than taking apart installed visors and pillar trim later.
A few soft wrinkles may disappear as the material settles. For more persistent wrinkles, use light steam or gentle heat from a safe distance. Keep the tool moving and avoid overheating the material. Too much heat can shrink, discolor, or damage a new headliner. It is better to make several light passes than one aggressive attempt.
Common Malibu Headliner Problems and What They Mean
Wrinkles concentrated in one area usually indicate uneven tension, while a seam that drifts to one side often points to an incorrectly positioned bow or an edge secured too early. A loose rear section may mean the rear retainer, trim, or sail panel arrangement is not fully capturing the material. Do not try to solve these issues by pulling harder on one corner. Release the nearby section, realign the material, and work back toward the problem area evenly.
If your original bows are missing, bent beyond use, or mixed up from a previous restoration, pause before installing the headliner. The correct bow set matters as much as the material itself. Likewise, if the roof rail moldings or windlace are badly worn, replacement trim may be the practical choice. Fresh headliner material can highlight every tired surrounding part.
Classic Parts has spent more than 40 years helping GM A-body owners find the restoration parts that make these details come together, from interior trim and weatherstripping to hard-to-source original-style components. When fitment questions come up, having the exact year, body style, and roof configuration ready helps ensure you get the right guidance and the right parts the first time.
Give the new headliner a final check after a few warm days and a short drive. A properly installed Malibu headliner should sit smooth and centered, frame the glass cleanly, and restore the finished factory feel that makes a classic GM interior worth preserving.