
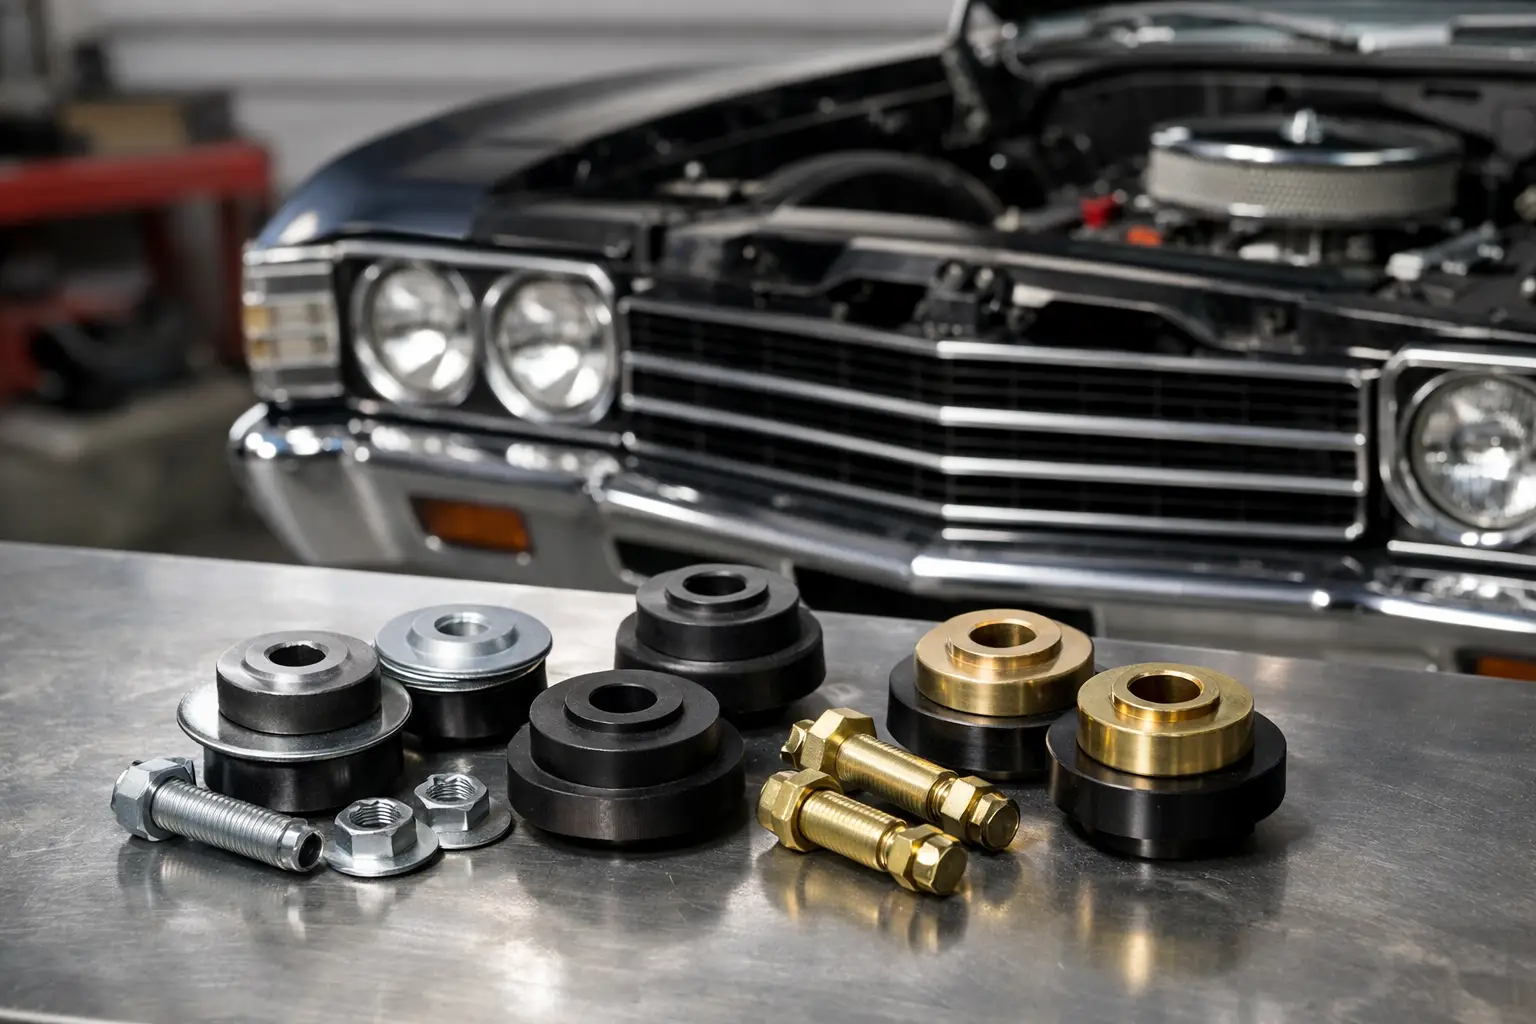
A Chevelle front end can look straight at a glance and still be sitting on worn, compressed, or missing mounts. Chevelle radiator support bushings are small parts with a big job: they isolate the core support from the frame while establishing the height and position of the sheet metal attached to it. When they have deteriorated, the result can be uneven fender gaps, a hood that needs extra persuasion to latch, vibration, and a radiator support that no longer sits where GM intended.
For a 1964-72 Chevelle, Malibu, or El Camino restoration, these cushions deserve the same attention as body mounts, weatherstripping, and front-end hardware. Replacing them is not just a cosmetic detail. It is a practical step toward protecting sheet metal, improving panel alignment, and giving the front clip the solid, factory-correct foundation it needs.
What Radiator Support Bushings Do
The radiator support, often called the core support, is the structural panel that carries the radiator and helps locate the front fenders, grille, headlamp assemblies, and related hardware. It bolts to the frame at its lower mounting points. The bushings and their associated hardware keep steel parts from being clamped directly together while maintaining the proper separation between the support and the frame.
That isolation matters. A classic GM A-body flexes in normal use, and the support sees road vibration, engine vibration, and stress from the weight of the cooling system and front sheet metal. Proper bushings help prevent metal-to-metal contact that can wear away paint, create rattles, and encourage rust around the mounting holes.
They also affect alignment. The radiator support is a starting point for the whole front clip. If its cushions have flattened by a quarter-inch or more, the front of the fenders may sit low, hood-to-fender gaps can change, and grille alignment can become frustrating. Bushings will not correct bent sheet metal or collision damage, but they should be in good condition before major panel alignment begins.
Signs Your Core Support Mounts Need Attention
Original rubber bushings can last for decades, but age, heat, oil exposure, moisture, and repeated compression eventually take their toll. On an unrestored car, it is common to find bushings that are cracked, hardened, distorted, or nearly fused to the frame bracket.
Look closely at the lower support mounting points. A bushing that has spread outward, collapsed into the frame opening, or lost its original shape is no longer doing its job. Rust stains around the mounting holes, shiny metal where the support has contacted the frame, and deteriorated rubber fragments are equally clear warnings.
Panel fit can offer another clue. If the hood has an inconsistent gap from side to side, the fenders appear to droop at the nose, or the grille is difficult to position evenly, inspect the support bushings before loosening every fender bolt. A damaged support, incorrect shims, sagging body mounts, or prior repair work can create similar symptoms, so this is a diagnosis process rather than an automatic cure.
Noise is worth investigating, too. A clunk, buzz, or rattle at the front of the car may come from loose hardware, worn cushions, or a support that has begun touching the frame. Since the radiator, fan shroud, and surrounding sheet metal are all nearby, check fasteners and clearances carefully instead of assuming the bushings are the only source.
Selecting the Right Chevelle Radiator Support Bushings
Correct fitment begins with the vehicle application. The 1964-72 GM A-body family shares many design features, but details can vary by model year, body style, support design, and prior modifications. A Chevelle, Malibu, and El Camino may use related components, yet the safest approach is to identify the year and confirm the specific radiator support currently on the vehicle.
This matters especially on cars that have lived long restoration lives. A replacement core support may have been installed years ago, a previous owner may have mixed hardware, or the car may have a later radiator and shroud arrangement. Verify the mounting location, bolt diameter, sleeve arrangement, and any required washers or retainers rather than ordering by appearance alone.
Rubber-style reproduction bushings are the natural choice for most factory-oriented restorations. They provide the compliance and appearance enthusiasts expect while preserving the isolation GM designed into the chassis. For a show-quality build or a stock street car, this is usually the right direction.
Some builders prefer firmer materials for specialized performance use. A firmer mount can reduce movement, but it may also transmit more vibration into the front sheet metal. That trade-off is rarely worthwhile for a restoration where original character, quiet operation, and proper fit are the priorities. The best material depends on how the car will be used, but factory-style rubber remains the dependable baseline for most classic A-body owners.
Do not overlook the hardware. Old bolts may be deeply corroded, stretched, incorrectly sized, or packed with damaged washers. A complete mounting package is often a better value than trying to reuse questionable pieces. Correct sleeves and washers are not minor details – they help prevent over-compressing the new bushing and keep the load where it belongs.
Installation Starts With Inspection
Replacing core support bushings is straightforward in concept, but it calls for patience. The support is tied into the front clip, and decades of rust or previous repairs can turn a simple job into a careful alignment project. If the car is being restored with the front sheet metal removed, this is the ideal time to renew the mounts. On an assembled car, work slowly and support the core support securely.
Before loosening anything, photograph the existing gaps and make reference marks around accessible brackets and shims. Those marks are not a substitute for final alignment, but they provide a useful starting point. Protect the radiator and paint, and never allow the support to hang from hoses, wiring, or the radiator itself.
A sound installation typically follows this sequence:
- Inspect the frame mounting area for cracks, crushed metal, rust-through, or damaged captive nuts.
- Loosen nearby fasteners as needed so the support can move slightly without binding the fenders or grille.
- Support the core support evenly, then remove one mounting bolt at a time when possible.
- Clean the mounting surfaces and install the bushings, sleeves, washers, and hardware in the correct order.
- Lower the support into place, start all fasteners, and align the front clip before final tightening.
Avoid tightening one side fully while the other side is still loose. Doing so can pull the support out of position and make the rest of the front-end alignment harder. Bring both sides down evenly, then check that the support is square to the frame and that the radiator, shroud, and fan all have safe clearance.
Use the factory service information for torque specifications and hardware orientation for your specific year. If a bolt feels wrong, bottoms out too soon, or will not start cleanly, stop and inspect the sleeve, threaded mount, and hardware. Forcing it can damage a captive nut or distort the support.
Align the Front Clip After the Bushings Are Installed
Fresh cushions can change panel position enough to require a second pass at hood, fender, grille, and bumper alignment. Start with the radiator support secured at its correct height, then work outward. Establish the hood fit first, followed by the fender-to-door relationship, the fender-to-hood gaps, and finally the grille and bumper position.
Expect some adjustment on a car with replacement sheet metal. Reproduction panels can fit very well, but tolerances stack up across a complete front clip. Shims may be necessary, and a support that is rusted, bent, or repaired poorly may need correction before perfect gaps are realistic. The goal is not to force one panel into place. It is to create even, repeatable spacing across the entire assembly.
Once the panels are aligned, recheck the core support bolts after a short drive. New rubber can settle slightly, and a final inspection gives you a chance to confirm there is no contact between the support, frame, radiator, fan, or shroud.
For restorers who want dependable fitment without chasing generic parts-store substitutes, Classic Parts offers the specialized inventory and practical support that 1964-72 Chevelle, Malibu, and El Camino projects demand. Start with the correct bushings and hardware, give the core support a clean, solid mounting surface, and the rest of the front-end restoration has a far better place to begin.