
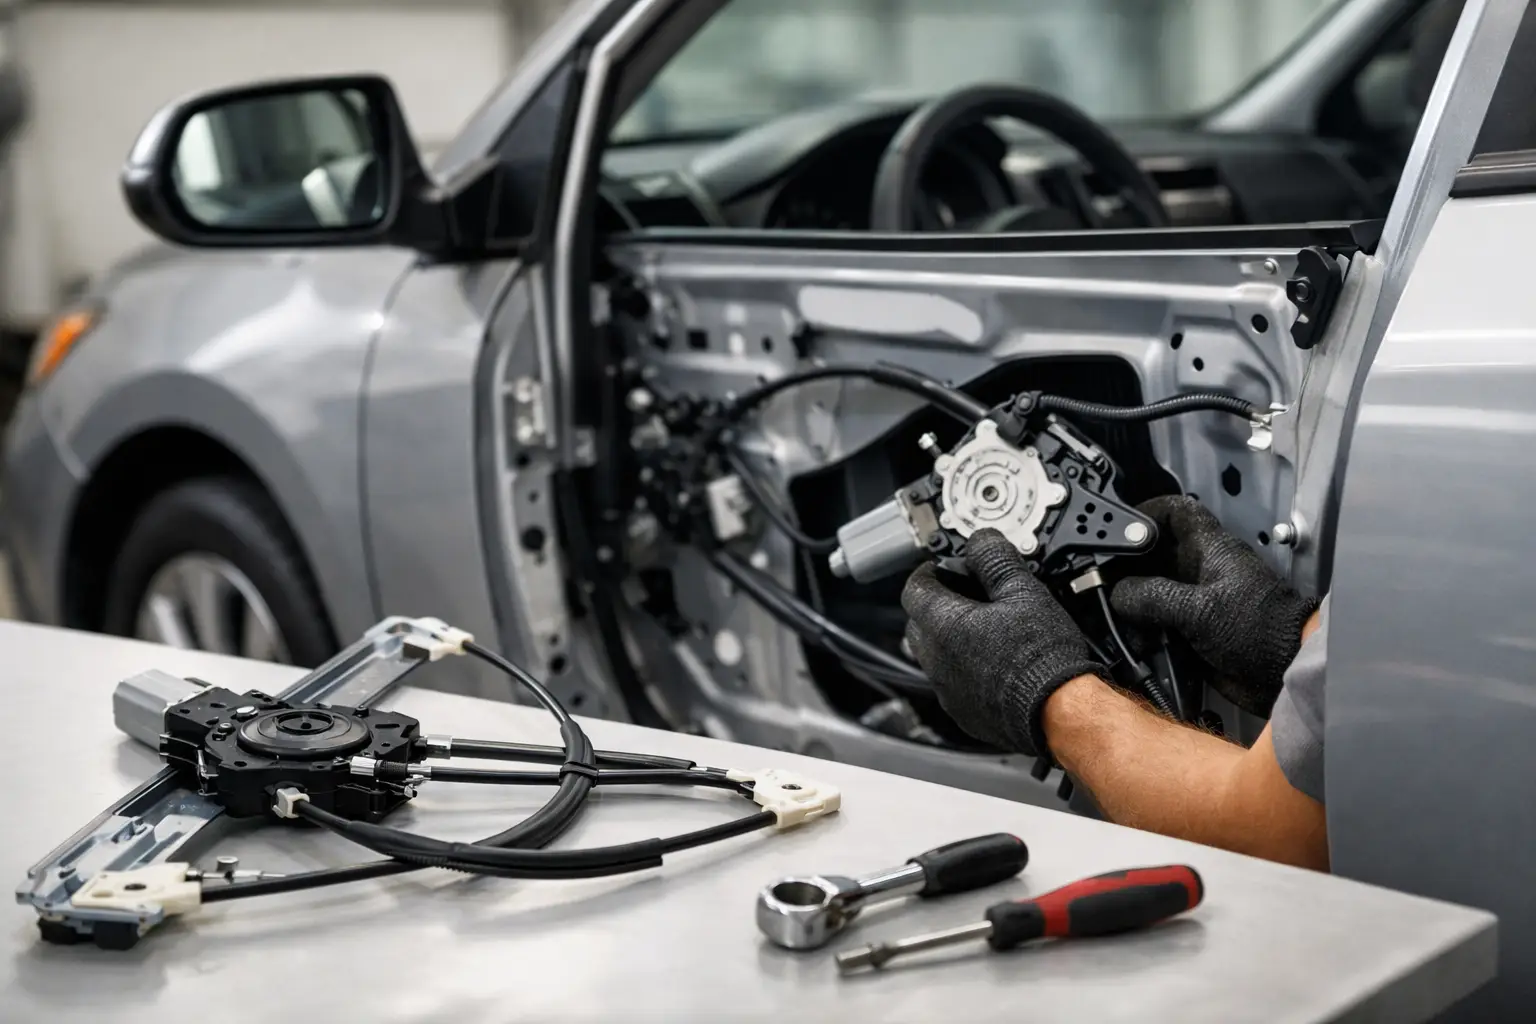
A loose, crooked, or glass-rattling door window can make an otherwise well-finished Malibu feel unfinished every time you drive it. Knowing how to replace Malibu window regulator hardware correctly helps protect the glass, restore easy operation, and preserve the factory feel that matters on a 1964-72 GM A-body.
For classic Chevelle, Malibu, and El Camino owners, the job is rarely difficult because of complexity. It is difficult because the parts are old, the door interior is tight, and the glass has to remain supported at every stage. Take your time, verify the body style before ordering, and treat the regulator spring with the respect it deserves.
Confirm the Correct Malibu Window Regulator First
A window regulator is the mechanical assembly that raises and lowers the door glass. On manual-window cars, the crank handle turns the regulator directly. On power-window cars, the regulator works with an electric motor. The basic replacement process is similar, but the assemblies, mounting arrangements, and troubleshooting steps are not interchangeable.
Before removing anything, identify your Malibu’s year, door configuration, and window type. A two-door hardtop, two-door sedan, four-door sedan, convertible, and El Camino can use different regulator designs. The rear quarter window mechanisms on hardtops and convertibles are also entirely different from a front door regulator.
Do not order solely by the name Malibu. GM A-body fitment depends on the exact year range and body style, and a regulator that looks close can still put the glass in the wrong position or fail to match the mounting holes in your door shell. Compare the old assembly to the replacement, including arm shape, roller locations, gear position, and mounting plate layout.
If the window has become hard to crank, do not assume the regulator is automatically at fault. Dry or bent window tracks, worn rollers, damaged sash channel, incorrect glass alignment, and old weatherstripping can all make a good regulator feel bad. A stripped gear, broken arm, missing roller, badly worn pivot, or spring that no longer assists the glass are stronger signs that replacement is warranted.
Tools and Supplies for the Job
Set up on a clean, level surface with the door fully open and supported. You will generally need basic sockets and wrenches, screwdrivers, a trim-tool or wide putty knife, needle-nose pliers, masking tape, painter’s tape, a marker, shop rags, and white lithium grease. A drill may be necessary if the original regulator uses rivets rather than bolts.
Wear safety glasses and gloves. The regulator spring stores considerable energy, especially when the glass is in the down position. Never drill out or remove a regulator while it is unsupported and under tension. If you are working on a power-window car, disconnect the battery before unplugging the motor or placing tools inside the door.
A second person is not mandatory, but it is useful when supporting the glass during removal and alignment. More importantly, keep a few pieces of clean cardboard nearby. They protect painted surfaces and give you a place to organize screws, clips, shims, and small hardware in the order they came out.
How to Replace a Malibu Window Regulator Safely
Remove the Door Panel Without Damaging It
Start by removing the window crank handle on manual-window cars. Most original-style handles are retained by a small spring clip behind the handle. A dedicated handle-removal tool is the cleanest option, but a careful trim tool can work if you protect the door panel. Remove the armrest, pull handle, lock knob, and any trim screws before releasing the panel clips around the perimeter.
Lift the panel upward once the clips are free. Avoid pulling it straight out with force, since the top edge hooks into the door structure. Carefully peel back the moisture barrier if one is present. Save it when possible. That barrier keeps water that enters the door from soaking the fiberboard panel and upholstery.
With the inside of the door exposed, inspect the regulator, lower glass sash channel, vertical tracks, anti-rattle components, and window stops. Photograph the layout before taking anything apart. Original hardware arrangements can vary, and a few photos are often more useful than a memory made halfway through a Saturday repair.
Support the Door Glass
Raise the window until you can access the bolts, rollers, or sash-channel fasteners that connect the regulator to the glass. If the regulator will not move the glass, carefully move it by hand while another person supports it. Once the glass is at a workable height, tape it to the door frame using several wide strips of painter’s tape over the top of the door and down onto both sides of the glass.
Use enough tape to hold the glass securely, but do not trust tape as your only support if the glass is heavy or loose in its channels. A wood block or padded wedge at the bottom of the glass can provide additional security. Never leave the glass unsupported after disconnecting the regulator.
Disconnect the Regulator From the Glass and Door
Mark the location of any adjustable track bolts, stops, or regulator mounting slots before loosening them. Those marks provide a useful starting point when it is time to align the window again.
Depending on your year and assembly, the regulator may connect to the lower sash channel through rollers in a channel or through bolts. Remove the retainers or fasteners carefully. Then remove the bolts holding the regulator plate to the inner door structure. Some original regulators were riveted in place. Drill the rivet heads slowly and use the correct replacement bolts, washers, and locknuts when installing the new assembly.
On a manual regulator, rotate the mechanism enough to relieve tension where possible, then work the assembly out through the large access opening in the door. It may take several turns and angles to clear the arms. Do not force it against the glass or bend the door’s access opening. On power-window assemblies, unplug the motor wiring and guide the harness out with the regulator.
If the old regulator is severely broken, the arms may be loose or the spring may be loaded unpredictably. Keep your hands clear of pivot points and gears. When in doubt, secure the regulator arms with a clamp or heavy wire before removal, then handle the unit as a loaded mechanical assembly.
Install and Lubricate the New Assembly
Compare the new regulator with the original one before installation. Transfer only the parts specified for reuse, such as certain rollers, mounting hardware, or motor components. If the original rollers are cracked, flat-spotted, or missing their retaining clips, replace them now. Installing a new regulator with worn rollers is a quick way to create another rough-operating window.
Apply a light coat of white lithium grease to the regulator gear teeth, pivot points, roller tracks, and sash channel where appropriate. Do not pack the door full of grease. Excess lubricant attracts dust, stiffens with age, and can stain the moisture barrier or interior panel.
Guide the regulator into the door and loosely install its mounting hardware. Connect the regulator arms or rollers to the glass sash channel, then install any track bolts and stops. Keep fasteners snug but adjustable at this stage. If you drilled out factory rivets, use quality hardware that fits the holes correctly without interfering with the regulator travel or door glass.
Align the Glass Before Reinstalling the Door Panel
Remove the tape only after the regulator is connected and the glass has positive support. Crank or power the window through its full travel several times while watching the glass from inside and outside the car. The window should rise without binding, sit evenly against the roof rail weatherstrip, and seal against the vent window or rear side glass as designed.
A window that leans forward or rearward usually needs track adjustment. A window that reaches the top but leaves an uneven gap may need upper-stop or sash-channel adjustment. Work in small increments. Loosen one adjustment point, move it slightly, tighten it, and test again. Large changes make it harder to identify what corrected – or caused – the problem.
Hardtop and convertible cars deserve extra patience because frameless glass must meet multiple weatherstrip surfaces. A perfectly smooth crank action is not enough if the upper edge misses the roof rail seal or the glass contacts the quarter window incorrectly. Check the door fit and weatherstripping condition before trying to force a poor seal into alignment with regulator adjustments alone.
Once the movement and fit are correct, tighten all mounting hardware, verify the crank handle or power switch operates properly, and reinstall the moisture barrier. Replace damaged door-panel clips rather than forcing tired originals back into the door. Finish by installing the panel, handles, armrest, and trim in reverse order.
When a Regulator Replacement Is Only Part of the Repair
If a new regulator still produces a stiff, noisy, or uneven window, inspect the entire system. Old glass run channels can grip the glass, rusty tracks can resist roller movement, and loose sash channels can let the glass shift under load. On power windows, weak wiring, poor grounds, or a tired motor can mimic regulator trouble.
For a factory-correct restoration, it pays to replace worn companion pieces while the door is open. New rollers, correct mounting hardware, moisture barriers, window felts, and weatherstripping cost far less in time than reopening a finished door panel later. Classic Parts has spent more than 40 years helping A-body enthusiasts source the hard-to-find pieces that make these repairs last.
A properly installed regulator should disappear into the experience of owning the car: the glass rises straight, the crank feels controlled, and the door closes with the solid, finished character your Malibu deserves.