
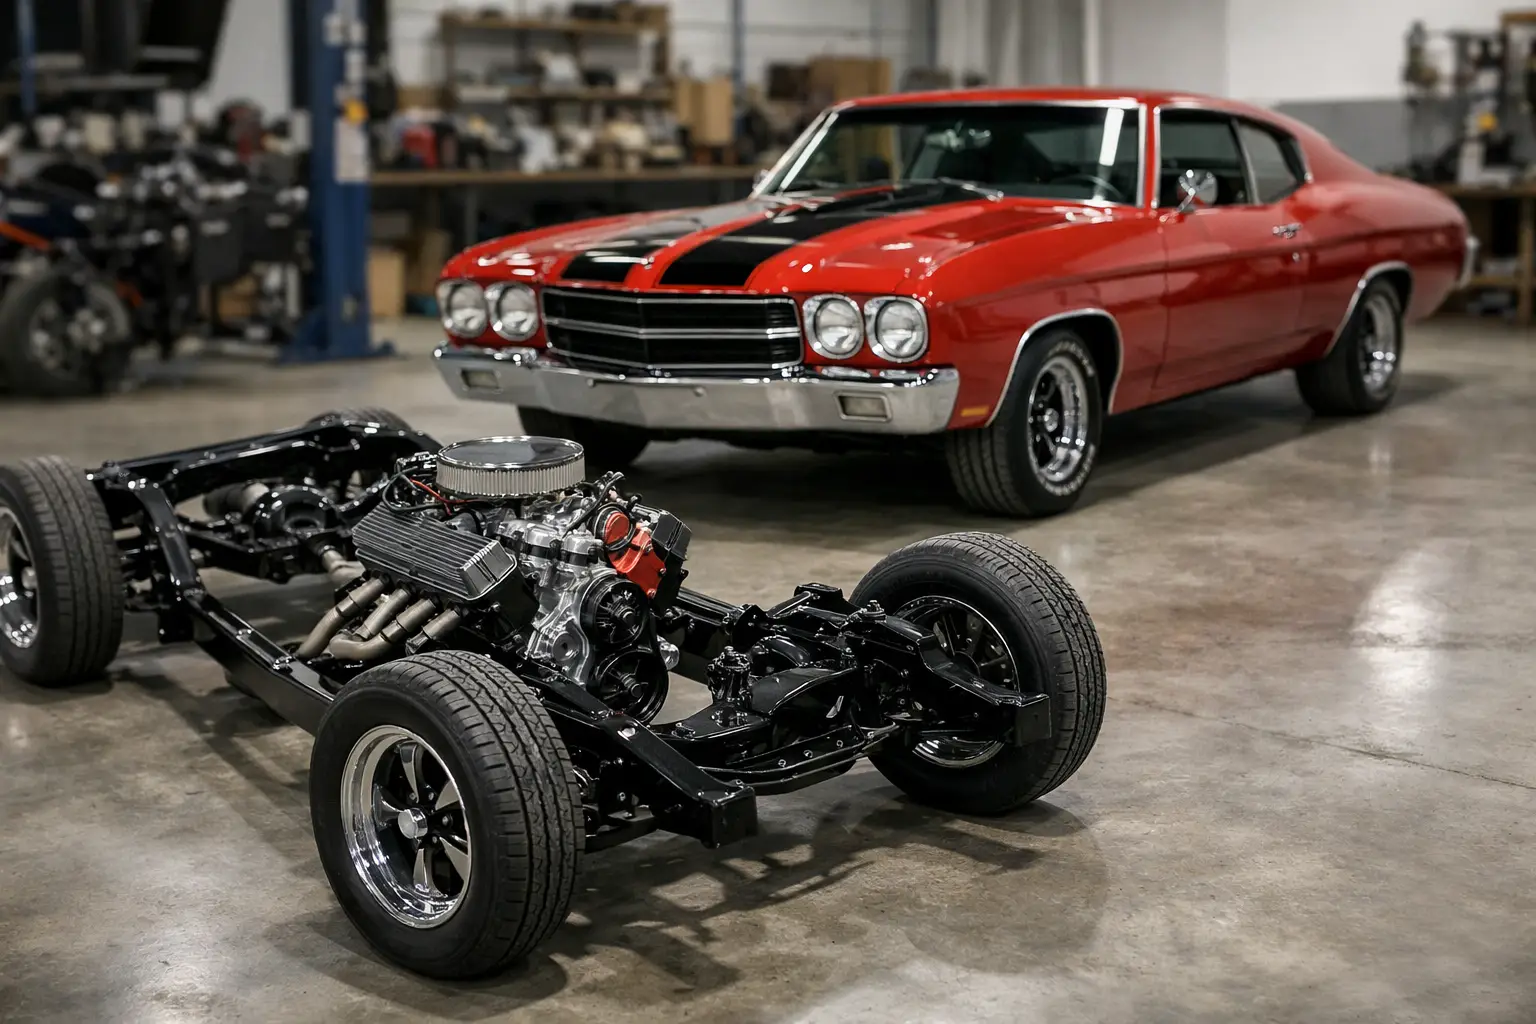
A true Chevelle frame off restoration example starts with a decision that affects every part order, every labor hour, and the finished car’s value: is the body solid enough to restore as-is, or does the project need a complete separation from the chassis? For a 1964-72 Chevelle, Malibu, or El Camino with decades of road grime, hidden rust, worn suspension, and unknown repairs, removing the body from the frame is often the only way to build confidence into the finished vehicle.
Consider a representative 1969 Chevelle coupe: numbers-matching small-block car, complete interior, tired paint, and a body that looks presentable from ten feet away. The floors feel firm, but the rear body mounts are crusted, the suspension bushings are original, and the brake lines have seen better days. This is not a quick cosmetic restoration. It is the kind of project where doing the chassis, body shell, and hardware separately prevents expensive surprises later.
What This Chevelle Frame Off Restoration Example Includes
A frame-off restoration does not mean every car needs a concours-level rebuild. It means the body comes off the frame so the restorer can inspect, repair, refinish, and reassemble the foundation correctly. The final direction may be factory-original, a clean driver-quality restoration, or a period-correct street machine. The work sequence remains largely the same.
For this 1969 Chevelle, the target is a factory-style driver with dependable road manners. The original drivetrain will be retained, the exterior color will remain close to the trim-tag specification, and the chassis will receive new wear items rather than shortcuts that hide age. That approach protects the car’s character while making it safer and more enjoyable to drive.
Before turning a wrench, photograph the car from every angle. Record body tag information, casting numbers, transmission codes, axle stampings, wiring routes, brake-line routing, shims, spacers, and hardware finishes. Bag and label every fastener by location. A phone full of photos is useful, but labeled bags and written notes are what save time six months later when the front end is going back together.
Start With a Complete Inspection
The body should be inspected before it is lifted. Check the floor pans, trunk floor, rear wheelhouses, lower quarter panels, rocker panels, cowl area, windshield channel, package tray, and rear body-mount braces. On convertibles, pay special attention to inner rockers, torque boxes, and bracing. On El Caminos, inspect the bed floor, bed supports, cab corners, and lower rear quarter structure.
Then inspect the frame with the body still mounted. Look closely at the rear kick-up, control-arm mounting points, transmission crossmember area, steering-box mounting area, and spring pockets. Scale rust can be cleaned. Deep pitting around structural points, collision damage, or a frame that has been poorly patched changes the budget and may change the plan entirely.
Measure body gaps before disassembly. Note door-to-quarter alignment, hood position, and the relationship between the body and frame at each mount. These measurements establish a baseline. A Chevelle that is assembled and aligned before disassembly is much easier to return to proper fit than one that was taken apart without documentation.
Separating the Body and Frame Safely
Strip the car in logical stages. Remove the hood, front clip components, bumpers, glass if the channels need repair, interior, fuel tank, drivetrain, exhaust, brake lines, and wiring. If the body will require major sheet-metal work, install temporary door braces before lifting it. This is especially important on convertibles and cars with weak floors or rockers.
The body mounts are often the first real test. Penetrating oil, heat, and patience help, but broken cage nuts are common in 1964-72 A-bodies. Do not force a rusted bolt until the surrounding structure is supported. Accessing and repairing a spinning cage nut is work, but it is better than tearing the floor brace or body mount area apart.
Use a proper body dolly or a rigid support system that carries the body at strong structural points. The bare frame should sit level on sturdy stands. Never treat a bare body shell as light or flexible. It can twist if it is lifted or stored carelessly, and correcting that mistake costs far more than building adequate supports at the beginning.
Rebuilding the Bare Frame
Once bare, the frame can be degreased, media blasted, inspected, and coated. Media blasting reveals cracks, thin areas, old repairs, and rust in places undercoating concealed. It also makes it easier to see original stampings and bracket details that matter on a factory-correct restoration.
For this example, the frame is cleaned and finished in a durable satin black chassis coating rather than a high-gloss finish. Satin black generally looks more appropriate on a restored Chevelle chassis and is easier to touch up after assembly. The frame should be fully dry and clean before new parts are installed. Fresh paint is not a substitute for repairing structural damage.
The chassis rebuild is the right time to replace the components that are difficult to reach once the body is back on. Install new body bushings and mounting hardware, rebuild or replace the front control arms as needed, fit ball joints and steering components, inspect the center link and idler arm, and install quality coil springs and shocks matched to the vehicle’s intended use. A stock small-block street car does not need the same spring rate as a big-block car with air conditioning, and neither needs a race-oriented setup just because it is available.
Brake and fuel systems deserve equal attention. New hard brake lines, flexible hoses, wheel cylinders or calipers, master cylinder components, parking-brake cables, and properly routed fuel lines eliminate some of the most common reliability problems on revived classics. Reuse original line clips and brackets when they are sound, or replace them with correct reproductions. Small hardware pieces are easy to overlook, yet they determine whether the finished chassis looks organized or improvised.
Repairing the Body While It Is Off the Chassis
With the body on a dolly, repair rust from the inside out. That means addressing the inner structure, braces, and supports before fitting an outer patch panel. A quarter panel installed over rusted wheelhouse metal may look good briefly, but it does not restore strength or protect the repair from moisture.
Test-fit replacement sheet metal before final welding. Doors, fenders, hood, deck lid, and front-end panels should be used to establish gaps before the body is painted. On a Chevelle, quarter-panel, trunk-lid, and door alignment can affect one another. Taking time here is the difference between a straight restoration and a car that looks assembled from unrelated panels.
This is also the point to rebuild systems hidden behind the finished interior and trim. Replace damaged body harness sections, inspect the dash harness connectors, service heater or air-conditioning components, renew weatherstripping, and repair window channels and regulators. A fresh paint job loses its appeal quickly if the car leaks, the windows bind, or the electrical system is unreliable.
Reuniting the Body, Chassis, and Drivetrain
When the body and chassis are ready, lower the body carefully onto the new mounts. Start all bolts loosely, verify alignment at the core support and rear mounts, then tighten them in stages. Do not use body-mount bolts to pull a misaligned body into place. If something does not sit correctly, stop and find out whether a mount, brace, frame point, or body panel is causing the issue.
The drivetrain can be installed before or after body installation depending on shop space and restoration goals. Installing the engine and transmission in the bare frame is often convenient, but a finished engine bay benefits from careful planning to avoid paint damage. Keep original brackets, fasteners, and accessory components whenever they can be restored. They often fit better than generic replacements and help retain the car’s authentic character.
At final assembly, use the documentation collected at teardown. Route wiring and lines as Chevrolet intended, fit the correct clips before tightening components, and verify every ground strap. Then bleed the brakes, set ride height, align the front suspension, check fuel delivery, and perform a careful first-start inspection. Expect adjustments. A frame-off project is a sequence of measured corrections, not a single finish line.
Parts Planning Prevents Delays
A restoration this involved is easier to manage when parts are ordered in phases: chassis and brake components first, body-mount and sheet-metal repair parts next, then weatherstripping, wiring, trim, and interior items. Buying complete hardware kits where appropriate keeps mismatched bolts and missing retainers from slowing assembly.
Original, NOS, used, and reproduction parts all have a place. An original core support bracket may be worth restoring if it fits perfectly and only needs cleaning. A worn suspension bushing, brake hose, or cracked weatherstrip is not a place to compromise. Choose parts based on condition, fitment, and the standard you want the finished Chevelle to meet.
For owners who want specialist help matching components to a specific 1964-72 A-body, Classic Parts brings decades of Chevelle-focused inventory and practical restoration knowledge to the process. That matters when a project needs more than a generic replacement part – it needs the correct piece for the body style, year, and restoration direction.
The best frame-off restorations are not defined by how quickly the body comes off. They are defined by the care taken before it goes back on. Build the foundation right, preserve what is worth saving, and your Chevelle will carry its original performance and pride of ownership for many more miles.