
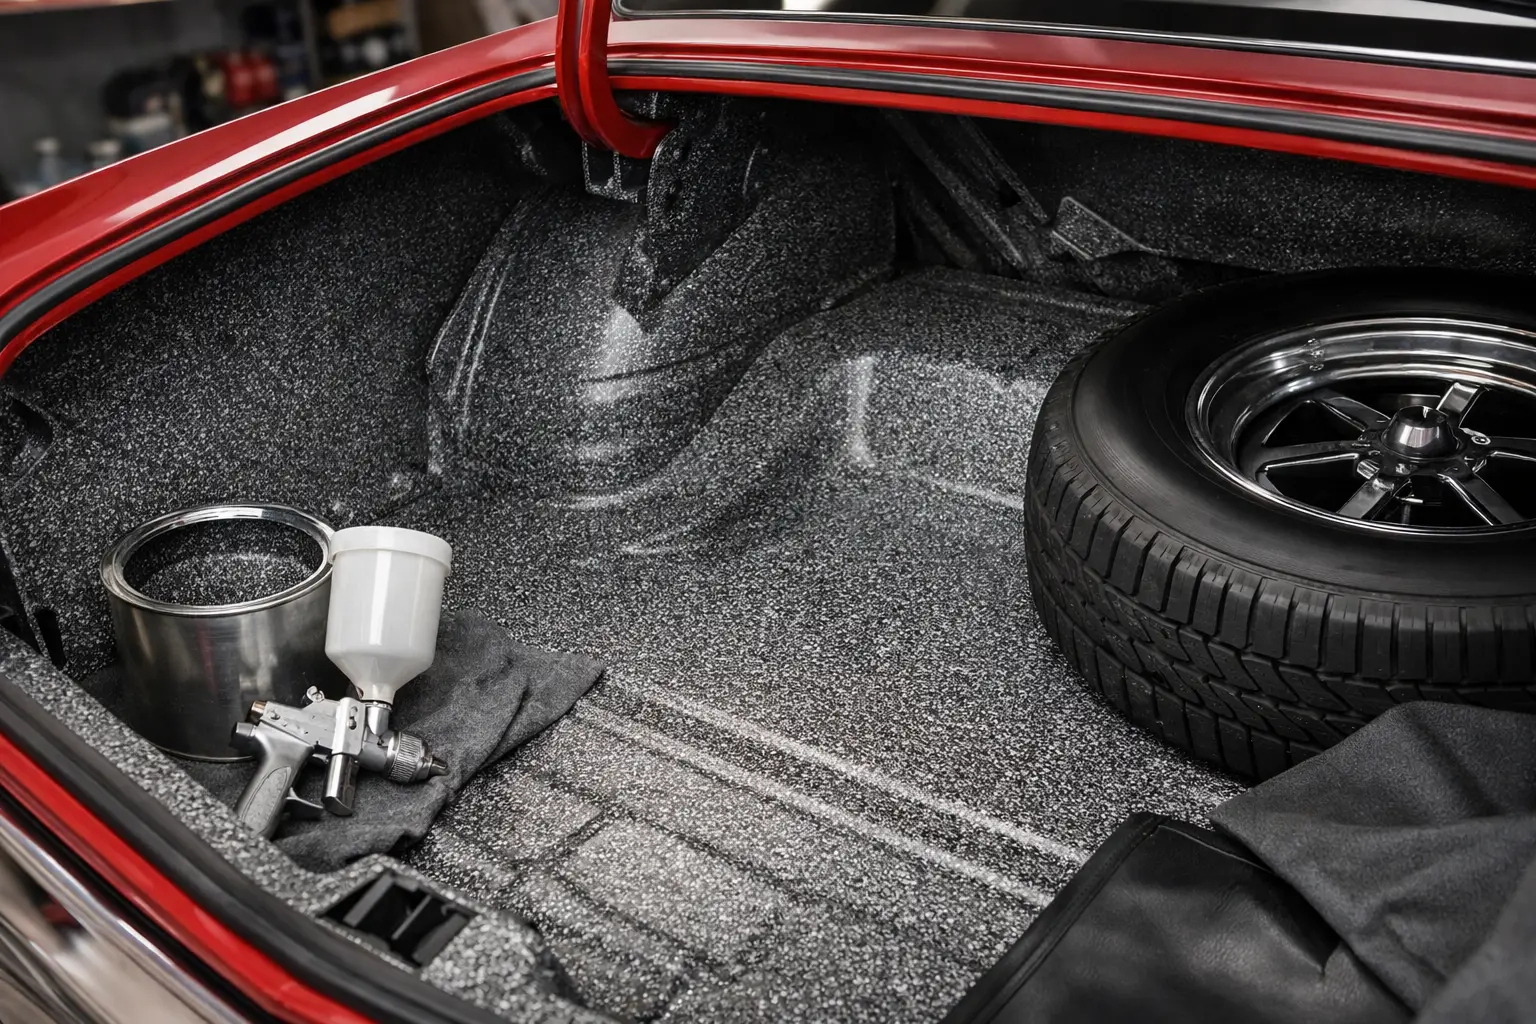
Open the trunk on a well-restored Chevelle and the details tell the story fast. Chevelle trunk spatter paint is one of those finishing touches that can make the compartment look factory-correct instead of freshly coated and obviously redone. Get the color, texture, and prep wrong, and even a clean trunk can look off to anyone who knows these cars.
Why chevelle trunk spatter paint matters
On a 1964-72 Chevelle, Malibu, or El Camino, the trunk was never meant to look glossy or over-restored. GM used a speckled trunk coating that gave the metal a practical finish while delivering a distinct original appearance. That spatter pattern is part of what judges, restorers, and experienced owners expect to see when they lift the deck lid.
This is where a lot of otherwise solid restorations miss the mark. Owners spend heavily on chrome, interior trim, weatherstripping, and sheet metal, then treat the trunk like an afterthought. The result is usually paint that is too shiny, too dark, too light, or sprayed over poor prep. If your goal is authenticity, the trunk deserves the same attention as the quarters, dash, or engine bay.
The tricky part is that trunk spatter paint is not just about color. It is also about surface condition, application style, and what level of originality you are after. A concours build and a clean driver restoration may use the same product but not always the same process.
Choosing the right chevelle trunk spatter paint
For most Chevelle applications, restorers are looking for the black and aqua style spatter finish commonly associated with GM A-body trunks of the era. That said, year range, assembly plant variation, previous repairs, and restoration goals all matter. If you are building a points car, verify what is correct for your specific model year and how original your reference car really is.
A common mistake is assuming any generic trunk paint will be close enough. Sometimes it is, and sometimes it is not. The color fleck size, contrast, and final sheen can vary more than people expect. On a casual driver, that may be acceptable. On a car where factory-correct details matter, it can stand out immediately.
This is also where buying from a specialist helps. A supplier focused on 1964-72 GM A-body restoration is more likely to understand the difference between a universal trunk coating and a product that actually looks right in a Chevelle. That saves time, money, and the aggravation of stripping and redoing the job.
Prep is what makes the finish look right
Spatter paint does not hide bad metal work. It hides less than many people think, especially under trunk lighting or direct sun. If the floor has pitting, poor welds, heavy sanding marks, or loose scale, the finished result will still look rough.
Start by removing old mat material, loose paint, rust, adhesive, and any contamination. Wax and grease remover is worth using here because trunk floors collect years of dust, oils, and residue from spare tires, jacks, and leaking seals. Once the surface is clean, address rust properly. Surface rust can often be sanded or blasted away, but deeper corrosion or pinholes call for repair, not cover-up.
If you have replaced trunk floor sections, take extra time to level seams and make weld areas presentable. The factory was not perfect, but there is a difference between original production character and obvious repair work. Spatter paint should finish the trunk, not rescue it.
Most restorers also apply a suitable primer or sealer before the spatter coat, especially on bare metal. Follow the paint manufacturer’s recommendations. Some products bond best over specific base surfaces, and skipping that step can affect both appearance and durability.
How to apply trunk spatter paint without making it look overdone
Application is where many good products go sideways. The goal is an even, natural-looking speckled coat, not a heavy textured blanket that fills every contour and seam.
Shake the can thoroughly and keep shaking during the job. Spatter material separates quickly, and uneven mixing leads to blotchy color distribution. Test your spray pattern on cardboard first. You want to see how the fleck lays down before you commit to the trunk floor.
Spray in light to medium coats and build the look gradually. If you try to get full visual coverage in one heavy pass, the pattern can clump and run. That usually creates dark patches or an overly dense finish that does not resemble the original look. Hold the can at a consistent distance and overlap your passes enough to avoid striping.
Corners, wheel housings, and drop-offs need a little extra attention because they can look thin when viewed at an angle. Still, resist the temptation to flood those areas. It is better to come back with another controlled pass than to soak the panel.
Depending on the product, many restorers topcoat the spatter paint with a clear sealer for protection. This is one of those it-depends decisions. A sealed finish can improve moisture resistance and durability, which matters on a driven car. On the other hand, some clear coats can alter the sheen or slightly deepen the colors, which may not be ideal if you are chasing a more original appearance. Read the product instructions and decide based on how the car will be used.
Common mistakes that hurt the final result
The first mistake is poor surface prep, and it is still the biggest one. Dirt, rust, or peeling old material under the coating will catch up with you. The second is using the wrong color or a generic substitute that looks close only until it dries.
Another issue is overspray management. If the trunk weatherstrip channel, latch area, hinges, or wiring are already installed, mask carefully. Clean lines matter. A sloppy trunk finish can make otherwise high-quality restoration work look rushed.
There is also the problem of unrealistic expectations from aerosol coverage. One can may not be enough, especially if you are coating a full-size trunk area with drop-offs and wheel tubs. Running short midway through a panel often leads to a mismatched final appearance, especially if the next can comes from a different batch or is not shaken equally well.
Finally, some owners confuse trunk paint with sound deadener or bedliner. They are not interchangeable if authenticity is your goal. Bedliner may be durable, but it looks wrong in a Chevelle restoration and can hurt the overall presentation of the car.
Driver quality or show quality – know your goal
Not every Chevelle restoration needs concours-level trunk detail. If you are building a clean weekend cruiser, you may prioritize a good visual match and long-term durability over strict factory duplication. In that case, a quality spatter product with proper prep and a protective clear may be the smartest route.
If the car is headed for judged shows, details matter more. Color accuracy, texture, edge definition, and even what hardware was in place during spraying can become part of the conversation. That is when research and part selection really pay off.
The good news is that the trunk is a manageable project for many hobbyists. With the right materials and a little patience, it is one of the more rewarding cosmetic jobs on the car because the transformation is immediate. A stained, patched, tired-looking trunk can become one of the cleanest areas on the vehicle.
Getting factory-correct results without guesswork
The best trunk restorations usually come from a simple approach. Start with solid metal. Use the correct chevelle trunk spatter paint for the application. Follow the product instructions instead of improvising, and decide early whether you are restoring for judging, driving, or resale presentation.
For owners working through a full Chevelle, Malibu, or El Camino restoration, it also helps to source from people who understand these cars beyond a part number. That is where a specialist like Classic Parts brings value, especially when you need confidence on fit, finish, and what actually belongs on a 1964-72 GM A-body.
A trunk may not get the same attention as the body lines or big-block under the hood, but every experienced restorer knows it still counts. When the spatter finish looks right, the whole car feels more honest – and that is what good restoration work is really about.