A Chevelle wiring harness guide matters most when the car starts showing the usual warning signs – brittle insulation, spliced repairs, dim lights, intermittent gauges, or a bulkhead connector that has seen better days. On a 1964-72 Chevelle, Malibu, or El Camino, the harness is not just another replacement part. It is the backbone of the car’s electrical system, and if it is tired, every circuit around it becomes harder to trust.
For many restorers, the first question is simple: should you repair the original harness or replace it? The honest answer is that it depends on the condition of the car and the goal of the build. A largely original driver with one damaged branch may only need a careful repair. A full restoration, especially one with decades of heat exposure, previous owner wiring changes, or under-dash add-ons, usually deserves a complete replacement. Time spent chasing old electrical problems can easily outweigh the cost of installing the right harness from the start.
What a Chevelle wiring harness guide should help you identify
The biggest mistake in harness ordering is treating all Chevelles the same. These cars share a platform, but wiring changed by year, body style, engine package, transmission type, gauge setup, and option content. A harness for a 1966 small-block Malibu with warning lights is not the same as one for a 1970 SS with round gauges, console, and additional underhood accessories.
That is why fitment starts with the vehicle itself, not the part photo. Before you buy anything, confirm the year, model, body style, engine, transmission, charging system, dash configuration, and major factory options. Air conditioning, tach and gauge packages, console wiring, backup lights, neutral safety circuits, power accessories, and convertible-specific components can all affect what you need. If your car has been modified over the years, inspect it closely. Many Chevelles no longer match their trim tag or original configuration once you get under the dash.
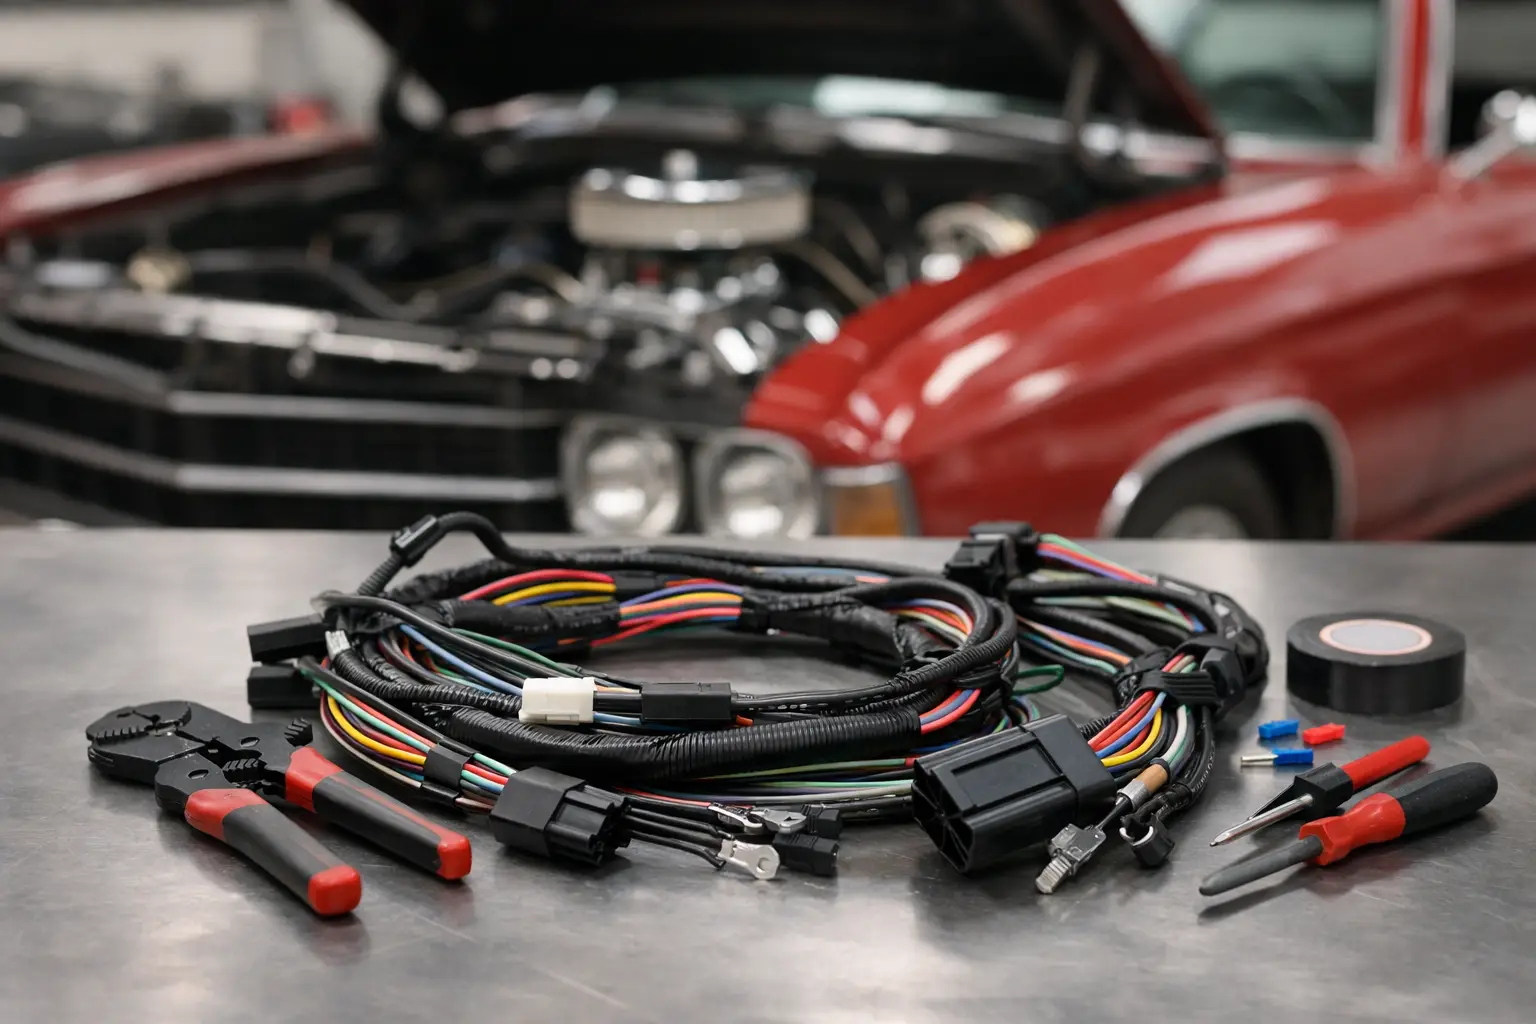
Main harness sections on a 1964-72 Chevelle
A classic A-body electrical system is easier to manage when you think of it as separate sections. Most restorers are not replacing one single universal harness. They are usually replacing individual harnesses that work together.
Engine harness
This section handles the underhood electrical connections for charging, ignition, temperature and oil sending units, starter leads, and engine-related accessories. Engine harnesses vary with big-block versus small-block applications, alternator setup, and ignition type. If originality matters, routing and connector style matter as much as function.
Forward lamp harness
This harness runs the front lighting, horn, and related front-end circuits. If your headlights flicker, front signals fail intermittently, or the insulation near the core support is cracked, this is often one of the first areas that needs attention.
Dash harness
The dash harness is the most complex section in many restorations. It connects switches, gauge clusters or warning lamps, ignition, fuse block functions, lighter, wipers, heater controls, and often interior options. Replacing it is more involved, but when a Chevelle has mystery electrical issues, the dash harness is often where old repairs and corrosion pile up.
Rear body harness
This section serves tail lamps, brake lights, fuel sender wiring, trunk light on equipped cars, and rear body connections. On wagons and El Caminos, layout differences matter. Rear harness damage is common in cars that have seen trunk leaks, floor repairs, or trailer wiring.
Intermediate and accessory harnesses
Depending on year and options, you may also need separate console, seat belt warning, power window, power top, blower motor, or air conditioning harnesses. This is where many restorers get tripped up. The main harness may be correct, but a missing accessory harness can keep an option from working properly.
Reproduction or original-style replacement
For most stock or factory-correct restorations, original-style reproduction harnesses are the right move. They are built to match factory routing, connectors, wire colors, and terminal ends more closely than a generic street rod kit. That matters on a Chevelle because clean fitment saves installation time and keeps the finished car looking right.
A universal wiring kit has its place, but usually on a heavily modified car with custom gauges, aftermarket accessories, upgraded charging systems, or an LS swap. The trade-off is that universal kits require more planning, more fabrication, and more circuit labeling work during installation. If your goal is stock appearance and factory-style function, a direct-fit harness is usually the cleaner solution.
This is also where buying from a true A-body specialist matters. Cars in this range have detail differences that general parts sellers often gloss over. When you are matching a harness to a specific year and option package, technical support and application knowledge save time.
When to replace instead of repair
Some original harnesses can be saved. If the issue is a single melted connector, one cut section, or minor terminal corrosion, a targeted repair may be reasonable. That is especially true for survivors where preserving original components is part of the appeal.
But there are clear cases where replacement is the smarter call. If the insulation cracks when handled, if you see multiple butt connectors or household wire splices, if terminals are loose at the connector body, or if the fuse block shows heat damage, the harness has likely moved beyond a dependable repair. The same goes for cars with charging system upgrades done poorly in the past. An alternator conversion is fine when wired correctly. It becomes a headache when someone bypassed original circuits with whatever wire was on hand.
Electrical gremlins are rarely isolated on a 50-plus-year-old harness. One visible bad section often means there is more hidden damage elsewhere.
A practical Chevelle wiring harness guide for ordering the right parts
Start by documenting what is in the car now. Take photos under the dash, at the firewall bulkhead, across the radiator support, at the engine, and in the trunk. Look at the connectors, not just the wire colors. On many restorations, previous repairs change colors, but connector shapes and branch locations still tell the story.
Next, identify your dash type. Warning light cars and gauge cars often require different harness configurations. Then confirm transmission details. Automatic and manual applications may differ in neutral safety and backup light wiring. After that, review major options like factory air, console, power windows, power top, rear defog, or tachometer package.
If your car is a true restoration project, it also helps to decide how correct you want it to be. Some owners want exact factory-style appearance down to wrapping and connector finish. Others mainly want reliable operation with proper fitment. Both are valid, but the buying decision changes depending on the goal.
At Classic Parts, this is where a broad inventory and experienced support make a difference. On a vehicle as option-sensitive as a Chevelle, getting the right harness the first time matters more than finding the cheapest box on the shelf.
Installation realities restorers should expect
Harness replacement is straightforward in concept and time-consuming in practice. The job goes much better when the battery is disconnected, the old harness is removed section by section, and each route is compared before the new one is fully secured. Do not cut the old harness out in one shot. Use it as a map.
Under-dash work takes patience. Label switch connections, photograph grounds, and check bulkhead connections carefully before final assembly. Many electrical problems blamed on a bad harness are actually poor grounds, weak terminals, or connectors that were never fully seated.
It is also smart to inspect related electrical parts while the harness is out. Fuse blocks, headlight switches, dimmer switches, ignition switches, printed circuit boards, bulb sockets, and battery cables all influence system performance. A new harness connected to worn switches can still leave you troubleshooting.
Factory-correct restoration versus upgraded reliability
There is always a balance between originality and usability. A concours-style build may call for exact replacement harnesses and stock routing throughout. A weekend driver may benefit from careful upgrades such as improved grounds, higher-quality battery cables, or relays for lighting, provided the work is done cleanly.
The key is consistency. If the car is mostly stock, keep the electrical system stock in layout and logic. If the car has meaningful upgrades, plan them as a system rather than stacking one-off fixes on top of old wiring. Chevelles respond well to thoughtful electrical work, but they punish shortcuts.
A good wiring harness choice does more than restore power to lights and gauges. It brings confidence back to the car. You turn the key, the engine cranks the way it should, the dash works, the lights stay bright, and you stop wondering what is happening behind the firewall. For a classic GM A-body, that peace of mind is worth doing right.