A body that shifts, creaks, or sits unevenly usually sends restorers chasing bigger problems first. But on a 1964-72 A-body, worn or mismatched hardware is often part of the issue, and a chevelle body mount bolt kit is one of those small purchases that can make the whole car feel more correct again.
Body mount hardware does more than hold the shell to the frame. It helps maintain alignment, supports proper panel fit, and keeps the body bushings doing their job. When the bolts are rusted thin, the captive nuts are stressed, or the hardware has been mixed and matched over decades, you can end up fighting door gaps, front clip alignment, and unwanted movement that never seems to go away.
Why the right chevelle body mount bolt kit matters
On paper, body mount bolts look simple. In the garage, they are rarely simple. These cars have lived through engine swaps, partial restorations, collision repairs, and years of weather. It is common to find original bolts in some locations, generic hardware-store replacements in others, and a few mounts held together by whatever fit that day.
That creates two problems. First, incorrect bolt length or thread engagement can keep the mount from clamping properly. Second, the wrong washers or head styles can affect how the hardware seats against the mount and frame. A proper kit takes guesswork out of the job by giving you hardware intended for the chassis and body mounting points used on your Chevelle, Malibu, or El Camino.
This is also one of those areas where authenticity and function meet. If you are building a driver, you want strength, fit, and easier installation. If you are aiming for a factory-correct restoration, you also care about the hardware looking right and matching the original application as closely as possible. The best choice depends on the level of your build, but either way, dedicated vehicle-specific hardware is usually a better move than piecing it together bolt by bolt.
What a body mount bolt kit should include
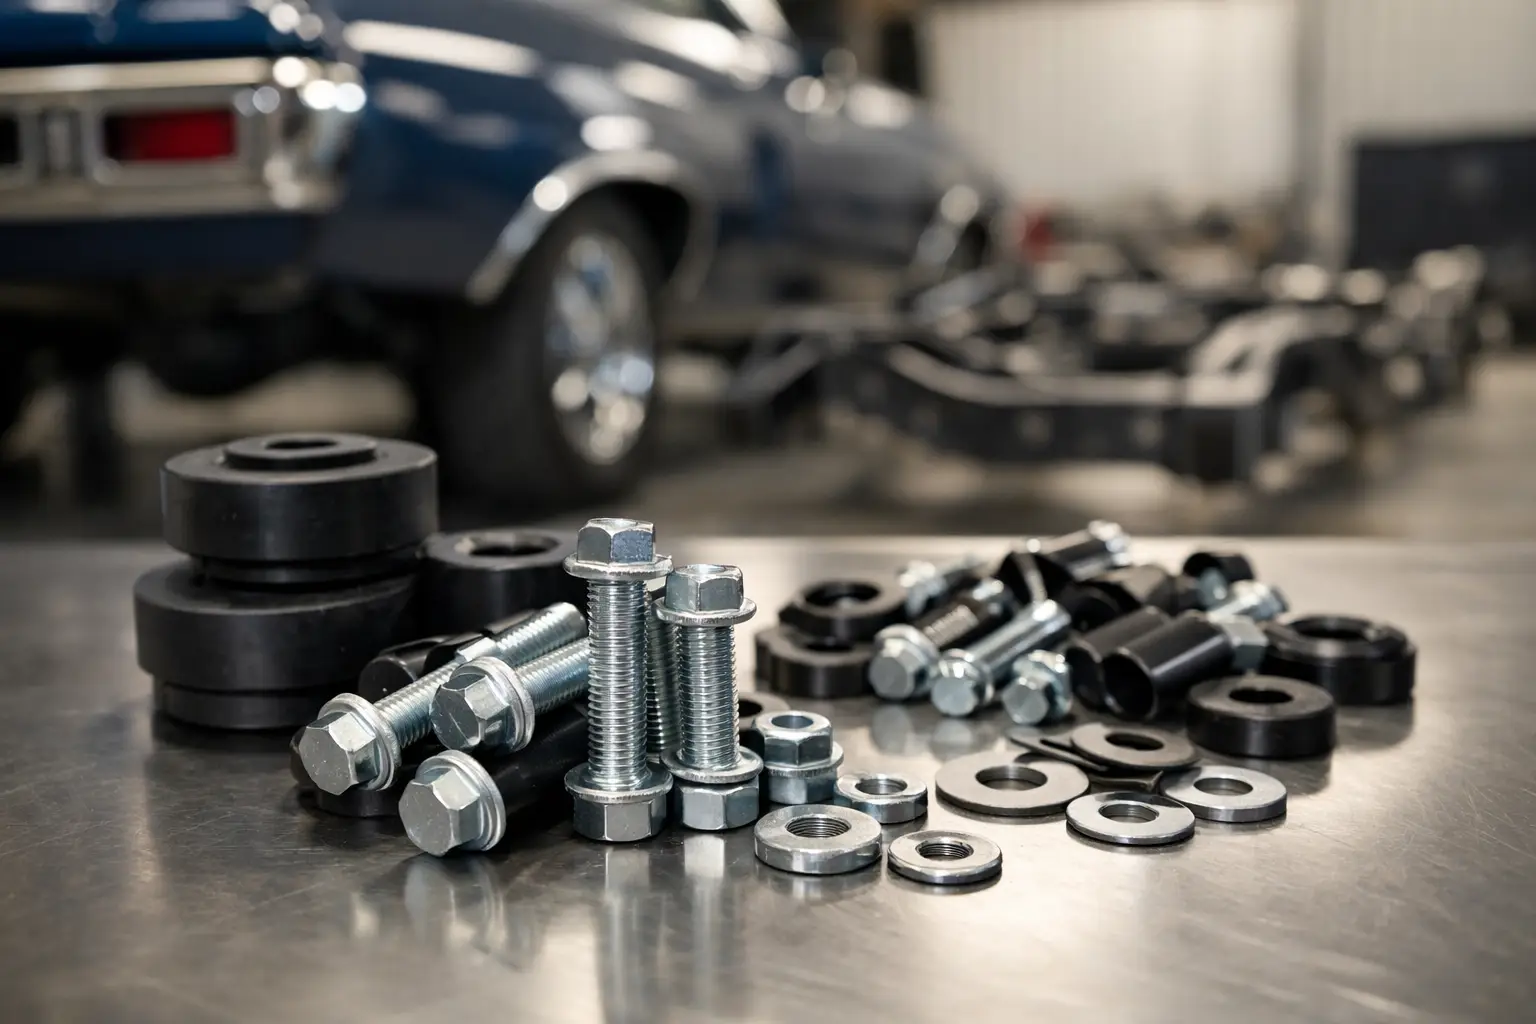
A good kit should cover the body-to-frame mounting locations for your application with the correct quantity and sizes of bolts, plus the proper washers where required. Some kits are designed to be paired with a separate bushing set, while others are sold to complement common stock-style body mount cushions already on the market.
That distinction matters. If your body bushings are original, crushed, oil-soaked, or split, replacing only the bolts may not solve much. Fresh hardware can clamp better, but it cannot restore the height or isolation properties of worn-out rubber. In most full restorations, it makes sense to evaluate the bushings and sleeves at the same time. If the body is already being lifted from the frame, that is the right moment to do it once and do it right.
You should also confirm whether the kit matches your exact model year and body style. A 1964-72 Chevelle family car may share A-body roots, but there can still be application differences depending on year, coupe, sedan, wagon, or El Camino configuration. Convertibles deserve especially careful attention because the body structure and reinforcement needs are different from a hardtop car.
Reproduction vs. original-style hardware
Most buyers are choosing between quality reproduction hardware and hunting down used or NOS pieces. For a body mount bolt kit, reproduction is usually the practical answer. You get consistent condition, known quantity, and hardware that has not spent fifty years fighting moisture inside frame mounts.
Original-style reproduction hardware is the sweet spot for many restorers because it balances appearance with usability. NOS can be attractive for very high-end builds, but availability is limited and condition is not always as perfect as the label suggests. Used original bolts may be fine for reference, but they are rarely the best foundation for a fresh body installation.
Signs your Chevelle needs new body mount hardware
Sometimes the need is obvious. You put a wrench on the old bolt and the head rounds off, snaps, or twists like soft clay. Other times the warning signs show up in how the car fits together.
If your doors need to be slammed, the front fenders seem difficult to align, or the body has a slight sag that does not make sense, inspect the mounts and hardware closely. Rust swelling around the bolt shank, missing washers, uneven body height side to side, and visible deterioration of the bushing stack are all signs that the hardware deserves attention.
Noise can be another clue. A squeak or clunk that seems to come through the floor or firewall may be related to body movement on the frame. That does not always mean the bolts are the only problem, but they are part of the system and should not be overlooked.
Buying the right kit for your restoration
The safest approach is to buy for the exact year, model, and body style, not just for a broad 1964-72 range unless the supplier confirms full compatibility. A true specialist in GM A-body restoration can usually tell you whether one kit fits several years or whether your application needs something more specific.
It also helps to be honest about your build. If the car is a clean weekend driver, dependable fitment and complete hardware matter most. If it is a judged restoration, you may care about finish, markings, and closer-to-original details. Neither goal is wrong, but the right product choice changes depending on what the car is supposed to be when finished.
This is where an experienced parts source earns its keep. A catalog full of hard parts is useful, but technical confidence is what saves time. Classic Parts has built its reputation around exactly that kind of support for 1964-72 Chevelle, Malibu, and El Camino owners who want the right part the first time, not a box of maybes.
Installation realities most buyers should expect
Body mount bolt replacement sounds straightforward until the first captive nut spins inside the body cage. On unrestored cars, corrosion is the wild card. Bolts may come out cleanly, or they may require penetrating oil, heat, careful cutting, and patience.
That is why it is smart to plan beyond the kit itself. If you are doing the job at home, give yourself time, support the body and frame correctly, and replace one side in a controlled sequence rather than taking everything loose at once. Preserving alignment is easier when the body remains supported and indexed as you work.
Thread condition also matters. Even with a new chevelle body mount bolt kit, damaged threaded inserts or cage nuts can slow the job down fast. Run each bolt in by hand before final tightening, and never force a bolt that feels cross-threaded. A few extra minutes at that stage can prevent a much uglier repair.
Should you replace all the bolts at once?
Usually, yes – especially if the body is already apart or the mounts are being serviced. Replacing only the visibly bad bolts can leave you with uneven clamping force and old hardware waiting to fail in the next location. The exception is a very limited repair on an otherwise well-preserved car, but that is the minority case.
Complete replacement gives you a known baseline. It also makes future service easier because you know what hardware is in the car, where it came from, and whether it matches the bushing setup under the body.
Common mistakes to avoid
The biggest mistake is treating body mount hardware like generic fasteners. Grade, length, shoulder design, washer fit, and application all matter more than they would on a simple bracket. The second mistake is tightening everything down before the body has had a chance to settle into proper alignment.
It is also easy to overlook the related parts around the bolts. Sleeves, cushions, shims, and frame mount condition all affect the result. If one part of the stack is incorrect, the new hardware cannot compensate for it. Take the system seriously and the car will reward you with better fit, fewer noises, and a more solid feel on the road.
A well-chosen body mount bolt kit is not glamorous, but it is one of those foundational restoration parts that supports everything above it. When the hardware is right, the body sits where it should, the bushings work as intended, and the rest of the build gets easier from there.