
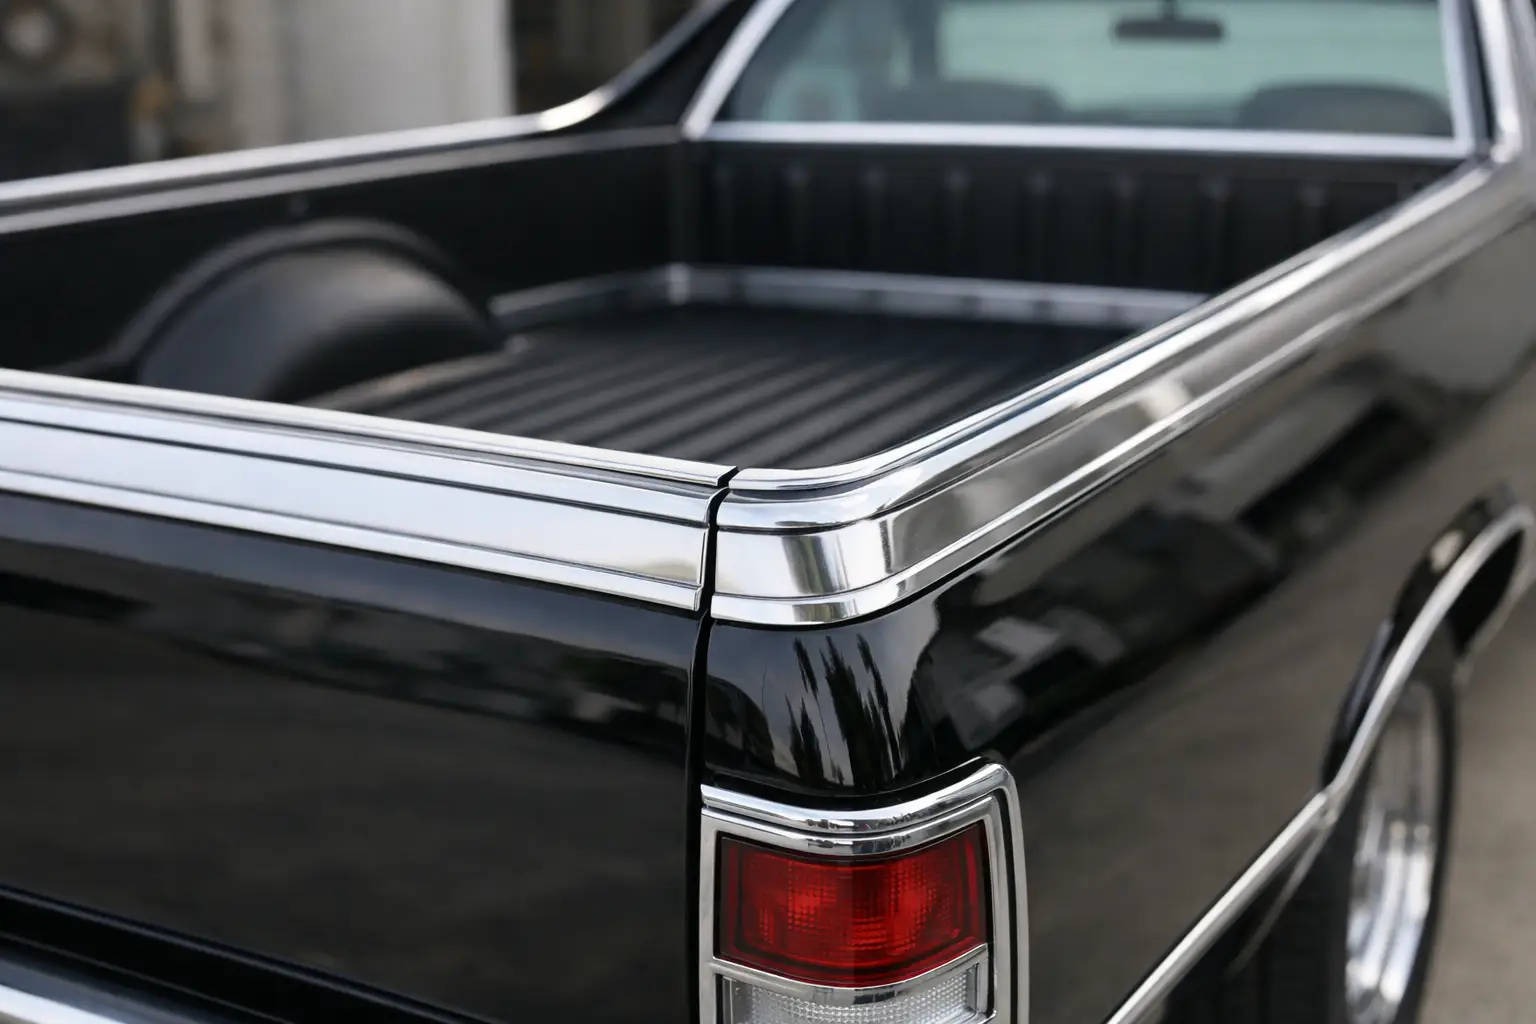
A straight, clean El Camino bed can still look unfinished when its trim is missing, dented, or fitted with hardware that does not belong. This El Camino bed trim guide helps you sort out what belongs on your particular truck, what can be restored, and where reproduction parts make the most sense. Whether you are returning a driver to presentable condition or building a judged restoration, the right trim protects vulnerable edges and gives the bed the finished factory appearance these Chevrolet classics deserve.
Start With Your El Camino’s Model Year
Bed trim is not a one-size-fits-all purchase. El Caminos share major design roots with the Chevelle and Malibu, but the bed sides, tailgate, rear body lines, and trim profiles changed across the 1964-72 run. A molding that appears close in a catalog photo may have different length, contour, end treatment, or mounting-hole spacing from the piece your vehicle requires.
Before ordering anything, confirm the model year from the VIN and compare the truck to clear reference photos for that year. Also look for signs of prior collision repair, bed-side replacement, or custom work. Many El Caminos have lived hard working lives, and a later tailgate, aftermarket bed rail cap, or drilled-on universal molding can confuse the picture.
For a factory-style restoration, identify the trim by its location and attachment method rather than by appearance alone. Original pieces were designed around specific body contours. If a molding needs to be forced into place, has a gap at one end, or requires drilling new holes to fit, stop and verify the application before damaging a good part or fresh paint.
What El Camino Bed Trim Usually Includes
The term bed trim can cover several separate pieces. Your truck may not use every item, depending on its year, trim level, and how closely a previous owner followed original specifications. Treat each section as its own fitment job.
Bed rail and upper-edge trim
Upper bed rail trim is among the most visible pieces on an El Camino. It follows the top edge of the bed side, where years of loading cargo, resting toolboxes, and leaning over the bed can leave scratches and dents. A good rail molding should sit evenly from the cab-side area to the rear corner, follow the body line without waviness, and have clean ends that do not catch clothing or cargo.
This trim is often stainless steel or bright-finished material, depending on the application. Stainless trim can sometimes be saved through careful straightening and polishing, especially when the damage is minor. Deep creases, stretched metal, missing mounting points, or badly pitted pieces usually make replacement the better long-term choice.
Tailgate trim and edge moldings
The tailgate takes more abuse than almost any other bed component. It is opened, closed, leaned on, and used as a work surface, so trim on its upper edge or face deserves close inspection. Check for dents near the latch areas, loose clips, worn fasteners, and misalignment caused by sagging hinges or an improperly adjusted latch.
Do not install fresh tailgate trim to hide a tailgate that sits low on one side. Correct the hinge, latch, or body alignment first. A new molding will only make an uneven panel more noticeable, and forcing it into position can permanently bend it.
Bed floor, side, and lower-edge details
Depending on the year and restoration level, bed-area details may include finishing strips, lower-edge moldings, side panels, protective trim, and related hardware. These pieces are easy to overlook during a large restoration because they are installed late in the process. Yet they strongly affect how complete the finished truck looks.
Inspect the adjoining metal before buying trim. Rust under a rail, distorted mounting holes, or heavy seam sealer can keep a correct reproduction piece from fitting as intended. Repairing the foundation first is always less frustrating than trying to make trim compensate for damaged sheet metal.
Original, NOS, Used, or Reproduction?
Choosing the right source is a matter of condition, budget, and restoration goal. Original trim has the advantage of proven factory contour and period-correct details. It can be the right choice for a survivor or high-level restoration, provided it is not too damaged to restore properly.
NOS parts can offer original manufacturing and correct fitment, but availability is limited and prices reflect that scarcity. Used trim is often a practical middle ground when you need an original part that can be cleaned, repaired, or polished. Ask for clear information about dents, pitting, missing studs, and previous repairs before committing to a used piece.
Quality reproduction trim is often the most efficient option for a driver-quality restoration or a build where multiple pieces are missing. The benefit is clean material, consistent appearance, and no need to spend hours rescuing heavily damaged originals. The trade-off is that reproduction components can vary in finish and exact detail, so year-specific fitment and mounting hardware matter.
Classic Parts has spent more than four decades helping GM A-body owners find the hard-to-source components that make the difference between an almost-finished project and a properly finished one. When comparing available trim, prioritize parts identified for your exact El Camino year and body application rather than relying on broad Chevelle interchange claims.
Inspect the Hardware Before Installing New Trim
A trim piece is only as secure as the clips, screws, retainers, and fasteners behind it. Old hardware can be rusty, flattened, brittle, or incorrect from a previous repair. Reusing it may save a few dollars, but it can lead to loose moldings, scratched paint, rattles, or a piece that falls away on the road.
Lay out the new trim and hardware before installation. Compare the number and location of mounting points with the body and with the old part, if available. Clean debris and old tape from the mounting surface, chase damaged threads carefully, and repair enlarged holes before final assembly. If painted surfaces are fresh, use protective masking around the work area and avoid sliding bright trim across the panel.
Install by hand with light, even pressure. Start at the proper reference point, usually an end or a fixed body feature, then work along the piece without bowing it. Do not tighten one fastener fully while the rest of the molding is still floating. Bringing the trim into place gradually helps it follow the body contour and reduces the risk of distortion.
Common Fitment Problems and What They Mean
A gap between trim and the bed rail usually points to one of three issues: the molding is for a different application, the bed edge has been repaired or bent, or the fasteners are not seated correctly. Check the part number and body shape before adding adhesive or bending the molding.
If the molding sits high at a corner, inspect for trapped seam sealer, old paint buildup, or a bent flange. If it is loose after installation, do not assume the trim is defective. Missing clips, worn retainers, and enlarged holes are common on working trucks. Correcting the mounting surface often solves the problem.
Uneven shine is another issue on mixed restorations. A polished original tailgate piece next to bright new bed rail trim can look mismatched even when both parts are technically correct. Decide early whether your goal is preserved patina, carefully restored original trim, or a consistent new finish. That choice keeps the bed from looking pieced together at the final stage.
Plan Bed Trim as a Final Assembly Job
Bed trim should go on after metal repair, paint correction, tailgate alignment, weatherstripping, and major bed-area work are complete. Installing it too early invites dents and scratches while you are still handling panels, adjusting latches, or moving parts around the truck.
Take the time to test-fit every piece before removing protective film or making final adjustments. Keep each molding wrapped until it is ready to install, and store it on a padded surface rather than leaning it against a bench. Bright trim is one of the last details people notice from across a parking lot, but it is also one of the first things they notice up close. Fit it carefully, use the correct hardware, and your El Camino bed will look finished with the pride and authenticity the truck has earned.