
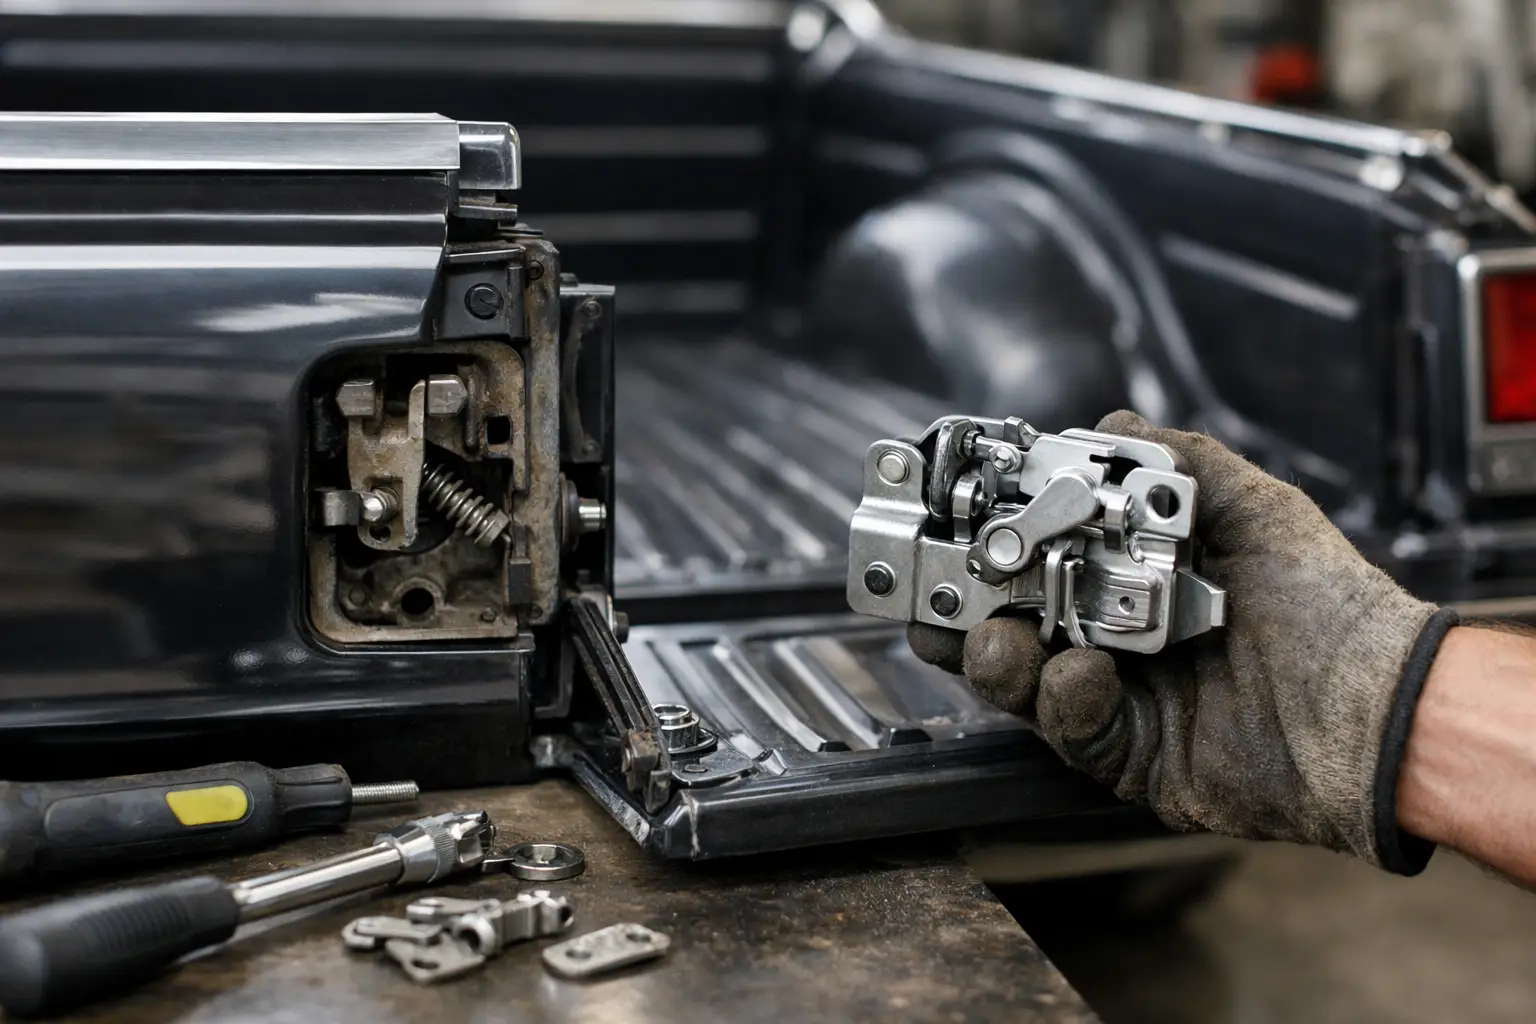
A tailgate that rattles, hangs up, or pops loose can take the enjoyment out of an otherwise solid El Camino. Learning how to rebuild El Camino tailgate latches starts with understanding that the latch assembly, rods, handles, and strikers work as one system. A clean, properly adjusted original-style mechanism gives the tailgate the firm, confident close it had when it left the factory.
For 1964-72 El Camino restorations, do not assume a weak latch is the only problem. Worn striker plates, bent operating rods, loose handle hardware, tired springs, or a tailgate that has shifted on its hinges can all produce the same frustrating symptoms. Inspect the complete system before ordering parts or changing adjustments.
Start With the Tailgate’s Actual Symptom
The way the tailgate behaves points you toward the repair. If it opens only when one side is lifted or slammed, one latch may not be releasing fully. If it closes but has noticeable side-to-side movement, the latch jaws or striker contact surfaces may be worn. A tailgate that will not stay shut often has a striker alignment issue, a broken return spring, or a latch pawl that is rounded off from decades of use.
Open the tailgate and operate the handle while watching both latch mechanisms. Each side should move through its full travel at the same time, then return positively when the handle is released. Sluggish movement usually means old grease, surface rust, or a binding rod. A latch that moves freely but does not hold the striker securely is more likely worn beyond a simple cleanup.
Before disassembly, check the tailgate hinge area and the tailgate-to-bed gaps. A sagging or twisted tailgate can make sound latch parts appear defective. Correct major hinge or body alignment issues first, then rebuild and adjust the latches.
Tools and Supplies for the Job
This is a manageable garage repair, but patience matters more than force. You will typically need basic hand tools, a screwdriver set, small picks, needle-nose pliers, a socket set, penetrating oil, a wire brush, shop rags, solvent, and quality chassis or white lithium grease. A small flashlight is helpful when working inside the tailgate.
Have a marker or masking tape ready as well. Marking rod positions, striker locations, and hardware orientation before removal can save time during reassembly. If hardware is heavily corroded or rounded, replace it rather than fighting it back into service. Tailgate hardware is exposed to moisture and road debris, especially on driver-quality trucks that still see regular use.
Remove the Handle, Access Panel, and Latch Components
Begin with the tailgate in the open position. Remove the inner access panel or cover as equipped to expose the latch rods and internal mechanisms. Take clear photos before disconnecting anything. Original assemblies can be straightforward, but routing and clip orientation matter when it is time to put everything back together.
Disconnect the rods from the handle and latch levers carefully. Retaining clips can be reused if they are tight and undamaged, but brittle, distorted, or missing clips should be replaced. A rod that slips out under load can leave you with a tailgate that will not open or, worse, one that does not latch securely.
Remove the latch assemblies from the tailgate edge. Keep left- and right-side pieces separated. They may look similar, but they are handed components and should return to their original locations. If your El Camino uses shims or specific spacers, label them as they come off.
Inspect Every Wear Point Before Cleaning
Once the parts are on the bench, look closely at the latch jaws, pawls, springs, pivot pins, rod holes, and mounting tabs. The goal is to determine whether you have a serviceable core or a part that needs replacement.
Light rust and hardened lubricant are normal on an original mechanism. Cleanable surface corrosion does not automatically mean a latch is finished. More serious concerns include cracked housings, broken springs, severely ovaled pivot holes, loose riveted pivots, and latch teeth or engagement surfaces worn round. If the latch cannot fully capture and retain the striker during a bench test, replacement is the safer choice.
Inspect the striker plates or pins at the bed sides at the same time. Deep grooves, flattened surfaces, or looseness around their mounting points will affect latch engagement. Rebuilding only the latch while leaving a badly worn striker in place often leads to a disappointing result.
Clean and Rebuild the Latch Assemblies
Soak grime-covered mechanisms with solvent or penetrating oil, then brush away old grease and loose rust. Work the latch by hand as you clean it, but do not pry against the pawl or force a seized pivot. Let the cleaner work, then repeat as needed. A wire brush is useful for exterior surfaces, while picks and small brushes help clear debris from spring pockets and pivot areas.
After cleaning, dry the parts thoroughly and operate the latch through several cycles. The mechanism should move freely, release cleanly, and return under spring pressure. Apply a modest amount of fresh grease to pivots, sliding contact points, and the latch jaw. Too much grease attracts dirt and can harden over time, recreating the problem you just corrected.
Replace damaged springs, clips, fasteners, and worn latch components during this stage. For a restoration that needs dependable fitment, use parts intended for your model year and tailgate configuration rather than trying to adapt generic hardware. Classic Parts carries restoration-focused El Camino hardware and components backed by the kind of application knowledge that matters when original pieces are no longer usable.
Check the Handle and Rods
The handle may be the source of a latch problem even when the latch itself looks fine. Check for a loose handle pivot, cracked casting, worn linkage connection, or limited travel. The handle must pull both rods far enough to release the latches at the same time.
Lay each rod on a flat surface and look for bends. A minor bend can often be corrected carefully, but do not repeatedly flex old rods. Metal fatigue is real, and a broken rod inside a closed tailgate creates an unnecessary service headache. Verify that rod ends fit their levers without excessive play and that each retaining clip holds the rod firmly in place.
Reinstall the Latches Without Final Tightening
Install the cleaned or replacement latch assemblies loosely enough to permit slight adjustment. Reconnect the rods and handle, following the photos and marks made during disassembly. Confirm that the rods do not rub sharply against the inner tailgate structure or bind at an angle.
With the tailgate still open, pull the handle several times and watch both latches. They should release together and snap back to the ready position when the handle is released. If one side lags, revisit the rod routing, clip placement, and latch pivot condition before moving on.
Do not grease painted exterior surfaces or striker faces heavily. A thin film on the actual contact point is sufficient. Excess grease can collect grit and leave a mess along the bed side and tailgate edge.
Adjust Strikers for a Tight, Even Close
Striker adjustment is where many latch repairs are won or lost. Close the tailgate gently and note which side contacts first, whether the latches engage fully, and whether the tailgate sits flush with the bed sides. Never use a hard slam as your first test after rebuilding. If alignment is off, forcing the tailgate can damage fresh parts or chip paint.
Move the strikers in small increments. If the tailgate is loose after latching, the striker may need to move slightly inward to increase engagement. If it is difficult to close or the handle is under tension when shut, the striker may be too far inward or too high or low. The correct position allows the latch to engage firmly with a controlled push, while the handle remains easy to operate.
Adjust one side at a time when possible. After each change, cycle the tailgate several times. Check that both sides release when the handle is pulled and that neither latch is carrying all the load. On a freshly painted restoration, use masking tape around striker areas to protect the finish while dialing in fitment.
Final Test Before You Put the Truck Back in Service
With all hardware tightened, close and open the tailgate repeatedly. Test it from the center and from each side. It should latch evenly, sit square to the bed, and release without lifting, twisting, or slamming. Listen for a metallic rattle while driving over a rough section of road, then recheck the striker and latch fasteners after the first few trips.
A properly rebuilt tailgate latch system does more than make the truck easier to use. It protects the tailgate, preserves alignment, and gives every close that solid factory-style feel El Camino owners expect. Take the time to correct the complete system, and your tailgate will be one less compromise in an otherwise well-sorted classic.