
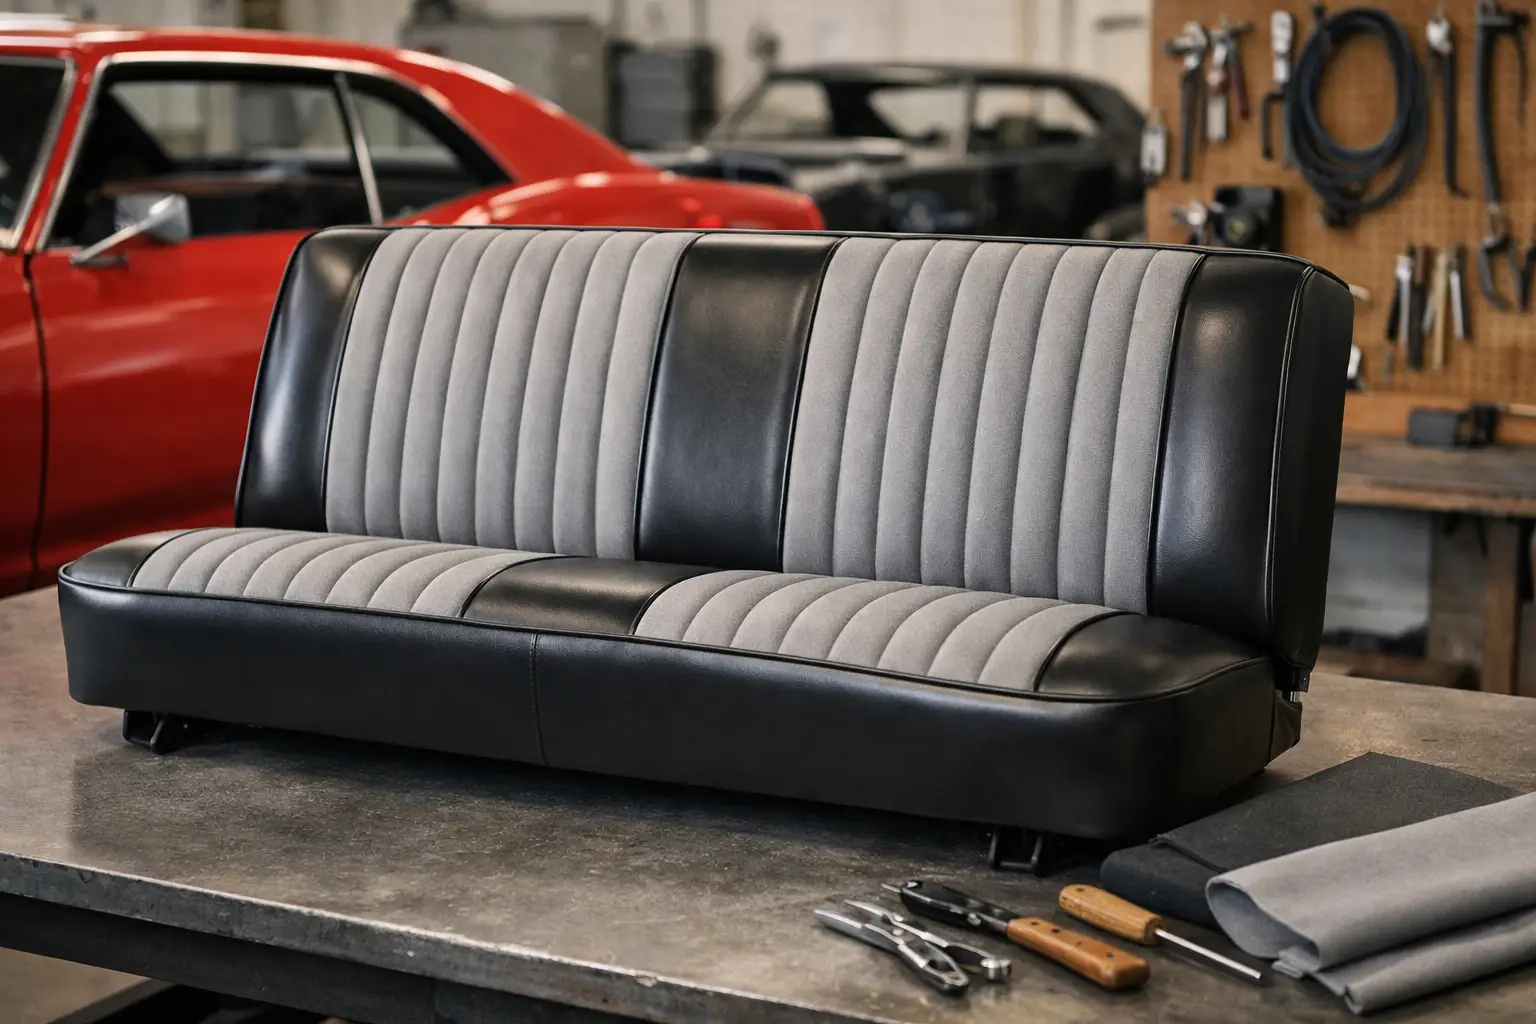
A torn bench seat can make an otherwise solid Malibu feel unfinished every time you open the door. This Malibu bench seat rebuild example shows how a typical 1964-72 restoration moves from a sagging, split original seat to a firm, correct-looking interior piece without losing the factory character that makes these cars special.
The job is not simply a matter of pulling on a new cover. A bench seat is a system: frame, tracks, springs, edge wire, padding, burlap, listing wires, upholstery, and hardware all work together. When one layer has failed, the layers beneath it often need attention too. Planning the rebuild before ordering parts saves money, avoids fitment surprises, and delivers a seat that looks right from the door opening and feels right behind the wheel.
Start With the Original Seat Frame
For this example, picture a 1968 Malibu with its original front bench. The vinyl is cracked along the driver-side outer bolster, the center section has faded, and the cushion sits noticeably lower on the driver side. The frame itself is usable, but the tracks are stiff and several spring ends have rubbed through the old burlap.
The first move is to remove the seat as a complete assembly. Slide it fully forward and rearward to reach the floor bolts, then keep the mounting hardware organized by location. Bench seats are awkward and heavier than they look, so having a second person nearby prevents damage to the interior, door panel, or seat tracks.
Once the seat is on a workbench, photograph every angle before stripping it. Take close photos of the hog-ring locations, the way the cover wraps around the frame, the routing of the release mechanism, and the position of any trim pieces. Original construction details are useful references, especially when your car has an earlier repair or when replacement upholstery instructions cannot account for every production variation.
Remove the old cover carefully rather than cutting it off in a hurry. The worn upholstery is a pattern reference. It can reveal whether the seat was originally vinyl, cloth, or a combination, and whether the previous owner added foam, changed the buttons, or used the wrong listing wire.
Inspect What Supports the Cushion
With the cover and padding removed, the actual condition of the seat becomes clear. Surface rust on the frame is common and usually manageable. Heavy scaling around the lower rails, cracked spring mounts, or a bent seatback frame deserves closer attention before any new upholstery goes on.
In this Malibu bench seat rebuild example, the main frame is cleaned, lightly media blasted, and refinished in a low-gloss black finish. The tracks are disassembled only as far as needed, cleaned, inspected for worn teeth or damaged stops, and lubricated before reassembly. Do this now. Once the seat is upholstered, correcting a track problem means removing the seat again and risking damage to the fresh cover.
The spring unit gets equal attention. A broken coil, detached border wire, or weakened driver-side spring will quickly ruin the appearance of new foam and new upholstery. Replace broken springs where possible, repair secure attachment points, and make sure the spring deck sits squarely in the frame. A seat that leans or has a low corner will not be fixed by stretching the cover tighter.
The materials between springs and foam matter as well. Fresh burlap or a proper spring barrier prevents the coils from cutting into the cushion. On many original seats, the barrier has become brittle, torn, or completely missing. Installing it is inexpensive insurance for a rebuild meant to last.
Foam: Reuse, Repair, or Replace?
Foam is where restorers often make the wrong call to save a few dollars. Original foam can sometimes be reused if it is resilient, dry, and still holds its original shape. If it crumbles when squeezed, has a permanent driver-side collapse, smells of moisture, or has been built up with loose household padding, replacement is the better path.
For this 1968 example, the seatback foam is still serviceable after minor repair, while the lower cushion foam is replaced because the driver-side edge has collapsed. A correct replacement cushion restores the profile of the seat and keeps the upholstery seams where they belong. Using universal foam may seem practical, but it often creates rounded edges, loose panels, and a seat that looks overstuffed.
There is a trade-off with reproduction foam. Some pieces are intentionally firmer than decades-old original foam, particularly when new. That is normal. What matters is proper shape, support, and correct fit beneath the cover. Give new foam time to settle after installation rather than judging it against a worn original seat.
Installing the Upholstery Without Fighting It
A quality seat upholstery set should match the correct year, body style, seating configuration, and original trim pattern. That sounds obvious, but Malibu interiors changed across the 1964-72 run, and a cover that generally fits a Chevelle bench may not duplicate the pleat pattern, button placement, grain, or color needed for a factory-minded restoration.
Before installing the cover, lay it out in a warm, clean workspace. Vinyl becomes more flexible with gentle warmth, while cold material is harder to position and more likely to show wrinkles. Avoid excessive heat. A heat gun used too closely can permanently distort vinyl, soften stitching, or create a shiny spot that will stand out in sunlight.
The rebuilt lower cushion in this example receives its spring barrier, replacement foam, and any required listing wires before the cover goes on. The cover is centered at the front and rear first, then attached gradually from the middle outward using hog rings. The same approach applies to the seatback. Work evenly from side to side so the cover remains aligned with the foam and frame.
Do not pull one corner tight before the rest of the cover is positioned. That is how pleats end up crooked and seams wander toward the passenger side. If a seam is off-center, remove a few rings and correct it before continuing. Fresh upholstery is much easier to adjust during installation than after the entire seat is assembled.
Details That Separate a Good Rebuild From a Correct One
The visible finish matters, but the small details preserve the seat’s original appearance. Reinstall the correct release knobs, plastic trim, escutcheons, seat hinge covers, and any chrome pieces only after cleaning and inspecting them. A cracked hinge cover or missing trim screw can pull attention away from excellent upholstery.
Color should also be judged in context. A new black cover can look right beside original black door panels, but brighter interior colors may make faded panels and rear-seat upholstery look tired by comparison. Sometimes rebuilding the front bench reveals that other interior components need to be restored in stages. That is not a reason to delay the seat – it is useful information for planning the rest of the interior.
Before ordering upholstery and support materials, confirm these five points:
- The exact model year and body style of the vehicle.
- Whether the front seat is a fixed bench, split bench, or bench with a folding armrest.
- The original trim code, if factory-correct color and pattern are the goal.
- The condition of the frame, tracks, springs, and seatback hardware.
- Which parts can be reused safely and which need replacement.
This inspection step prevents a common restoration mistake: ordering a cover first, then discovering that the cushion, spring unit, or seat hardware needs more work than expected.
Reinstall and Test Before Calling It Finished
Once the upholstery is installed, let the seat sit at room temperature and inspect it from several angles. Minor wrinkles can relax as the vinyl settles, but deep folds usually indicate that the cover is not centered, a listing wire is misplaced, or the foam is not seated correctly. Correct those issues before reinstalling the seat.
Mount the tracks squarely to the floor, tighten the hardware securely, and verify full forward and rearward travel. Check that the seatback latch, if equipped, operates cleanly and that nothing binds against the carpet or console. Sit in both seating positions. The driver-side cushion should feel supported, the seatback should not twist, and the seat should remain stable under normal movement.
A bench seat rebuild is one of the most satisfying interior projects on a classic Malibu because the difference is immediate. The right frame repairs, support materials, foam, and upholstery turn a tired original seat into a durable focal point that supports both the car and its history. When you need factory-minded interior parts or help sorting the correct setup for your Chevelle, Malibu, or El Camino, Classic Parts brings decades of specialized restoration experience to the workbench.